Lay a perfectly flat floor yourself
Get a professional result without experience or hassle
- A flawless floor, even without professional knowledge
- 50% faster – start when you're ready
- Work at your own pace – never wait for anyone
- Seamless system – no cracks, no expansion joints
Why choose Staenis?
Traditional screed vs. 4 Staenis solutions
Traditional Screed
- Waiting for an expensive installer
- Risk of cracks and tears
- Expansion joints required
- 28 days drying time or longer
- High chance of warping
- Long-term start-up protocol for underfloor heating
- Uneven after drying possible
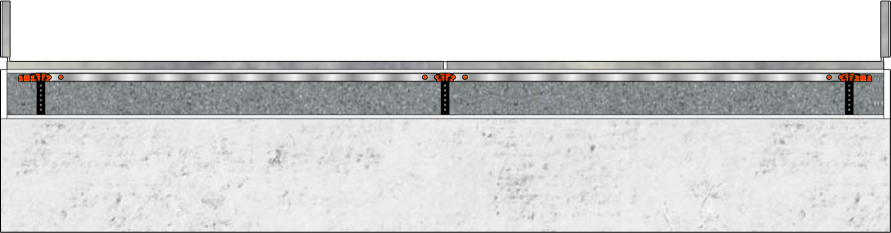
Staenis levelling floor
- Levelling from 1 mm to 5 cm
- Extra reinforcement thanks to grid
- Top layer quickly and precisely to level
- Ideal for renovation/uneven surfaces
- Light crack-bridging for extra security
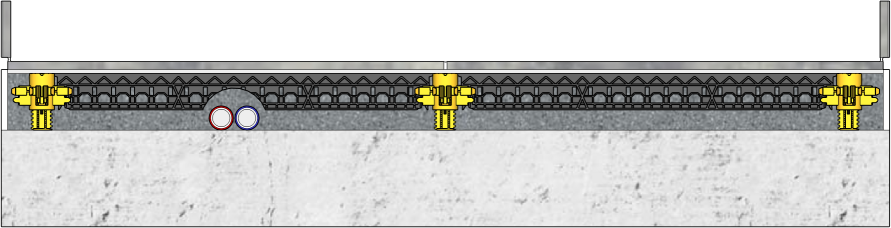
Staenis screed floor
- Install yourself, no installer required
- Guaranteed crack-free
- No expansion joints up to 200 m²
- Quickly ready and flat
- Light and quick-drying
Our systems & heights
- Levelling grid — 1 mm to 5 cm
- Screed grid — ± 5 to 13 cm
- Dry floor grid — ± 5-13 cm + board layer
- CircoFloor — ± 9-22 cm + board layer
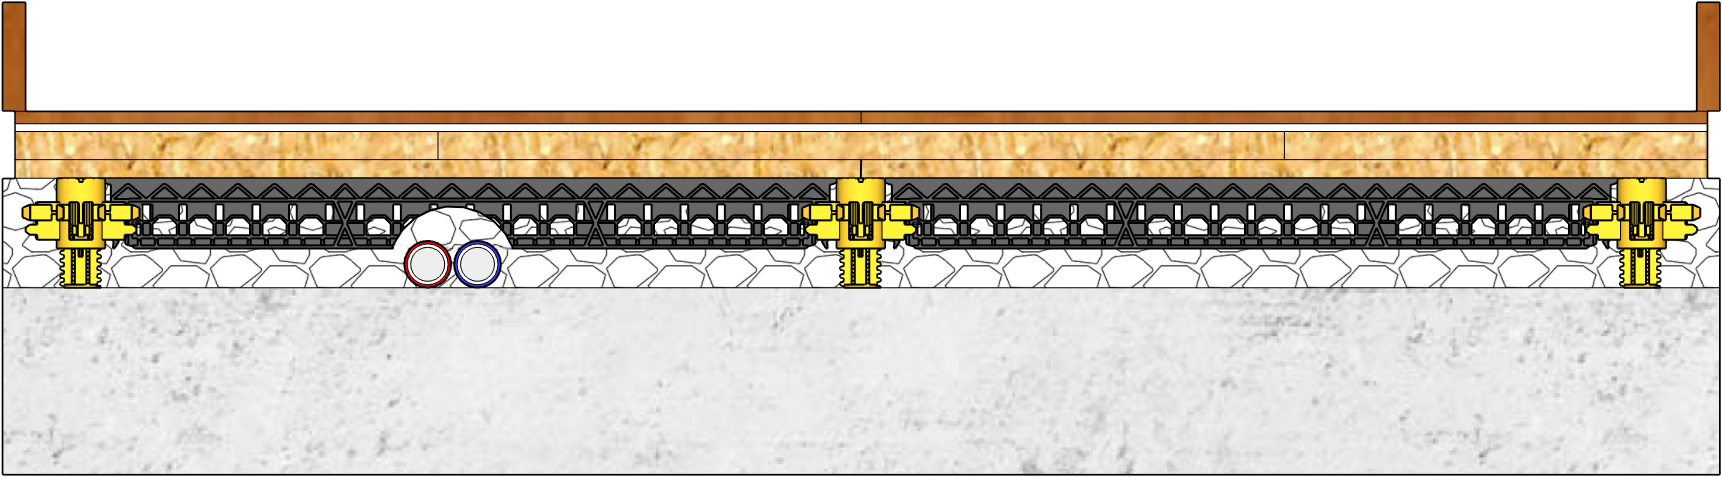
Staenis dry floor
- Dry, light build — no waiting time
- Can be directly laid with OSB/Durelis
- Perfect results, even without experience
- Dismountable and reusable
- Attic/conversion ideal

Staenis CircoFloor
- Circular, demountable and modular
- Load capacity up to 2.8 tons/m² (adjustment screws)
- Green alternative to PUR+screed
- Low environmental impact
- High insulation value and acoustic damping
Do you have any questions?
Type your question below. You will first get an answer based on our website and webshop. If you want confirmation or personal advice afterwards, you can have Staenis review the chat.
1
How can we help?
Describe your situation clearly. You will first get an answer based on our website and webshop.
Next answer:
Tip: the more specific your question, the better the first answer.
New conversation
Optionally add 1 image (JPG, PNG, WEBP or GIF, max. 10 MB).
2
Have Staenis review it
Choose why you want to contact Staenis, enter your email address and forward your conversation for review or follow-up.
We will then get back to you personally as soon as possible.
Staenis projects worldwide
Our references speak for themselves. Click on the map to discover where Staenis floors have been installed.

Staenis in numbers
4.600+
customers
97%
customer satisfaction
> 150.000 m²
placed