How to level tileable insulation screed
By Staenis | | Manual
How to level an insulation screed with levelling compound or tile adhesive?
To install a new floor according to the rules of the art, you need the right foundation: a flat and even screed. Do you want to level a screed or tileable insulation screed, but don't know how best to approach this? With levelling compound or tile adhesive, you achieve a perfectly flat surface on which you can lay the new final floor. Learn how to easily lay your own screed and discover a handy step-by-step plan for levelling your screed.
Haven't laid screed yet? Discover a handy DIY system
If you are going to install a new floor, you also need to provide a screed. This will be the solid base for your final floor finish. With a screed, you eliminate irregularities and level differences in the subfloor and can bring the floor to the desired height. For many floor finishes or flooring systems, your screed must be perfectly flat and smooth to work easily and achieve quality results. Today you will learn how to level your screed with the right products.
Is screeding your floor still on the agenda? Then consider installing your screed yourself with a handy DIY system. This way, you set your own schedule and don't need to hire a screeder. Even if you have no experience, you will achieve a professional result that will look great for years. Watch the introduction video and discover a user-friendly DIY system for laying your screed.
Why level your floor?
Of course, you want your new floor to be nice and level. If your current screed subfloor is not flat, it is best to apply a self-levelling compound. By levelling the subfloor, you eliminate irregularities and make the surface even for the arrival of the new floor. At the same time, you extend the lifespan of the covering you apply on top, such as tiles, parquet, or laminate.
Egaline, an effective levelling compound
You level your floor with a levelling compound. For example, self-levelling compound, a type of liquid cement made from synthetic materials. It is used on both sand-cement and anhydrite subfloors. Self-levelling compound is available as a powder to which you add water. The self-levelling mix is liquid when you start working with it, but becomes very hard after application. The mixture quickly adheres to the substrate. It is important to work correctly right away, because removing this layer is not easy.
Why use self-levelling compound?
By applying a layer of levelling compound, you get a good subfloor without level differences on which you can place a new finishing layer. With levelling compound, you can compensate for level differences of up to 5 cm. In this way, you can even raise part of your underlying floor to the level of the entire floor slab. Good to know: for floors higher than 50 millimeters and floors in very poor condition, it is best to use a different building material than levelling compound or levelling mortar. Ask a professional about the right approach. Good to know: levelling mortar is actually also a levelling compound, but usually one that does not flow open itself. You must therefore spread levelling mortar open and flat yourself.
Pouring levelling compound up to 5 cm thick costs a lot of money. From a thickness of 1 to 2 cm, it is therefore better to use the levelling grid to place an adhesive screed.
Levelling interior floors: don't forget your primer
Before levelling or smoothing a screed subfloor, you apply floor primer. Priming your floor is essential to achieve a durable and flat floor. The primer strengthens the top layer and ensures that the tile adhesive or levelling compound adheres better and dries less quickly on the absorbent substrate. The levelling compound will also flow better during application and do its job optimally. Which primer should you use for screed or fast-drying insulation screed? In the Staenis webshop you can easily order your suitable fast-drying primer online. Note: the Staenis primer is not suitable for priming tiles.
Level the outdoor floor: first apply tile adhesive
What about an outdoor floor, do you also need to prime it before levelling? A substrate of screed or drainage mortar outdoors is not primed. However, you do use tile adhesive to fix the substrate. For this, first clean the substrate, then apply the tile adhesive to the screed with the flat side of your notched trowel. This way, moisture can still pass through and the sandy substrate is completely fixed.
Levelling screed with self-levelling compound: step-by-step plan
By levelling your screed with levelling compound, you increase the surface strength and make the substrate even. For example, a glued multilayer parquet floor will adhere much better to the substrate, and gluing it will also become much easier. Discover in the step-by-step plan below how to level a screed floor with levelling compound:
1. Getting your supplies at home
First, gather all the necessary materials for levelling your floor. For levelling a screed with self-levelling compound, you need the following items: the correct self-levelling compound in bags, sufficient water (see the packaging of the self-levelling compound), a suitable primer, buckets for mixing the self-levelling compound, a mixer or cement mixer, a paint scraper or putty knife, a roller with a nap, a spiked roller, and a spatula or squeegee.
Please note: The bags of levelling compound indicate the layer thickness for which the levelling compound is intended, for example for a layer of 1 to 3 mm. Always buy the correct levelling compound for the layer that your floor requires. This way you can be sure of the correct composition and a layer that is strong enough. This levelling compound can be poured up to 5 cm thick: Latermix Paris Slim. This levelling compound can only be poured up to 1 cm thick: cement-based levelling compound for a thin layer for tileable insulation screed, or on a screed to make it flatter.
2. Preparing the subfloor
All the necessary materials at home? Then you can start preparing the substrate. It must be dry, clean, dust-free, and crack-free. First, remove any loose parts. Stains and dirt are also a no-go. Paint splatters, glue residues, or other irregularities can usually be removed with a putty knife. Then vacuum the floor. Fill cracks or holes deeper than 25 mm with a cement mortar.
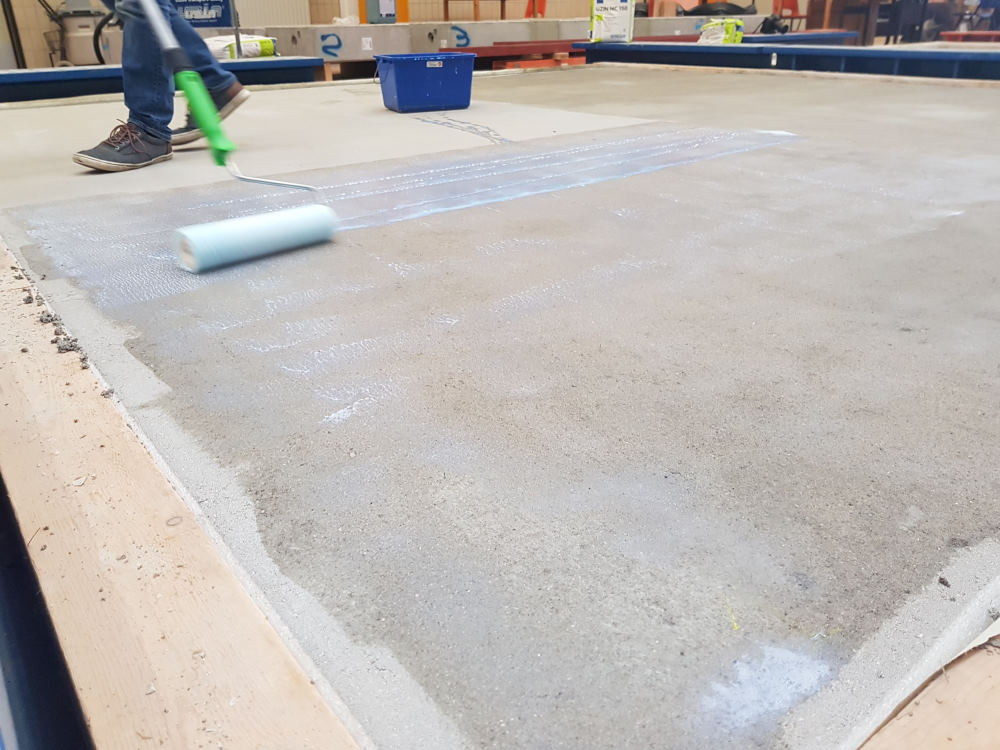
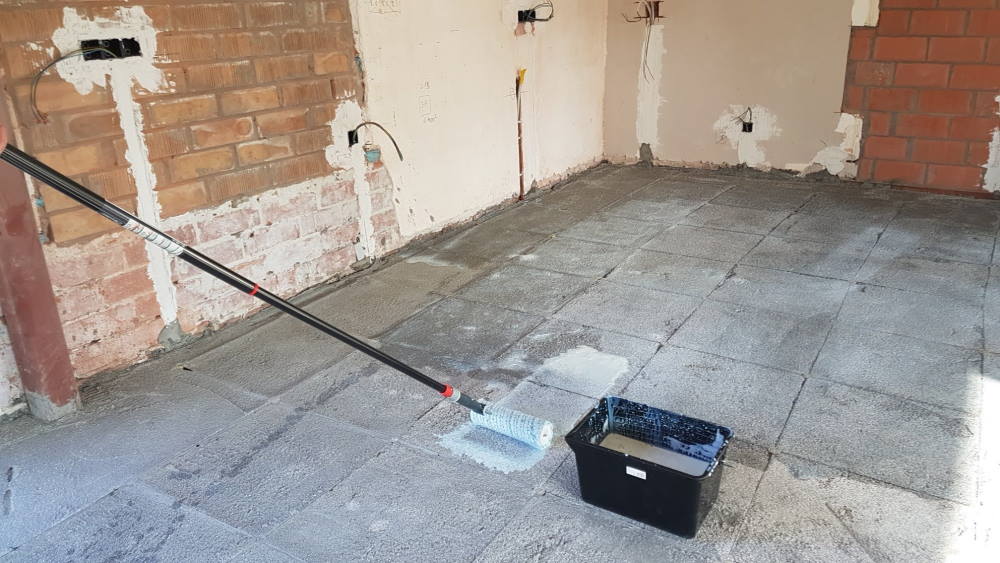
3. Apply primer
Next, you prepare the substrate with primer (for indoor applications). Apply adhesion primer to the substrate using a long-handled roller. The primer ensures good adhesion of the self-levelling compound and prevents it from drying too quickly. You can find out exactly how long the primer needs to dry on the packaging.
4. Mixing the levelling compound
Once the primer is dry, prepare the levelling compound mix according to the instructions on the packaging. Put the water in a bucket and then add the powder. Take the hand blender and mix the levelling compound powder with the water. Mix for more than 2 minutes until all lumps are gone and the mixture is smooth.
Tip: The ratio of water to levelling compound powder varies by type and brand. Always respect the amount of water indicated on the bag, otherwise the levelling compound will discolor during drying. You also risk that the levelling compound will not achieve the correct compressive strength or will come loose.
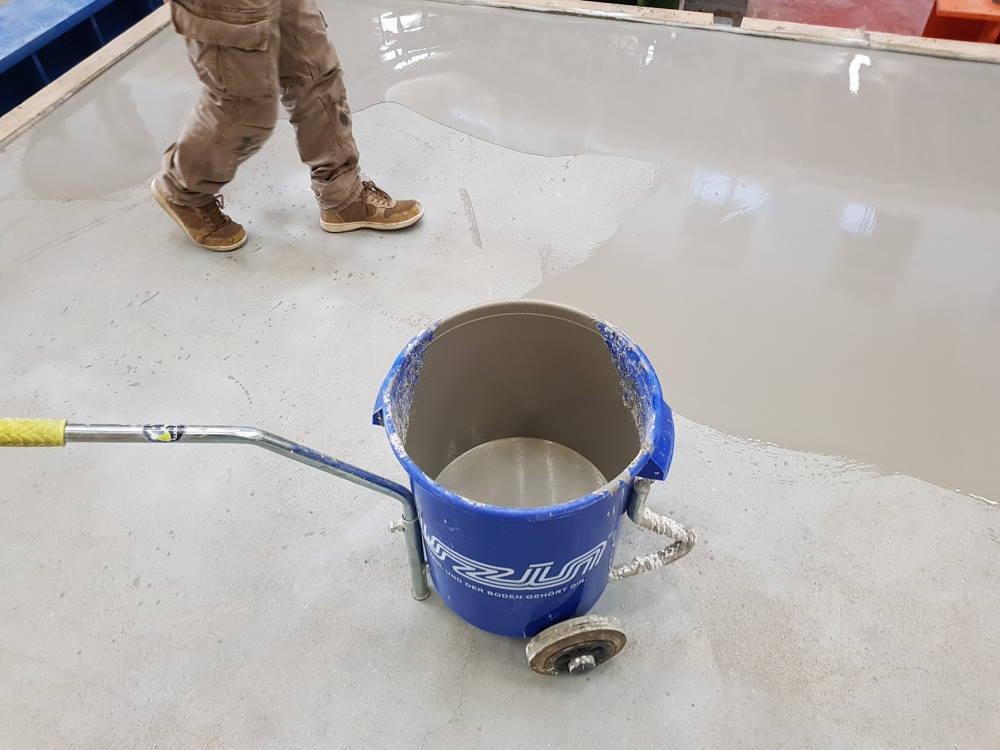
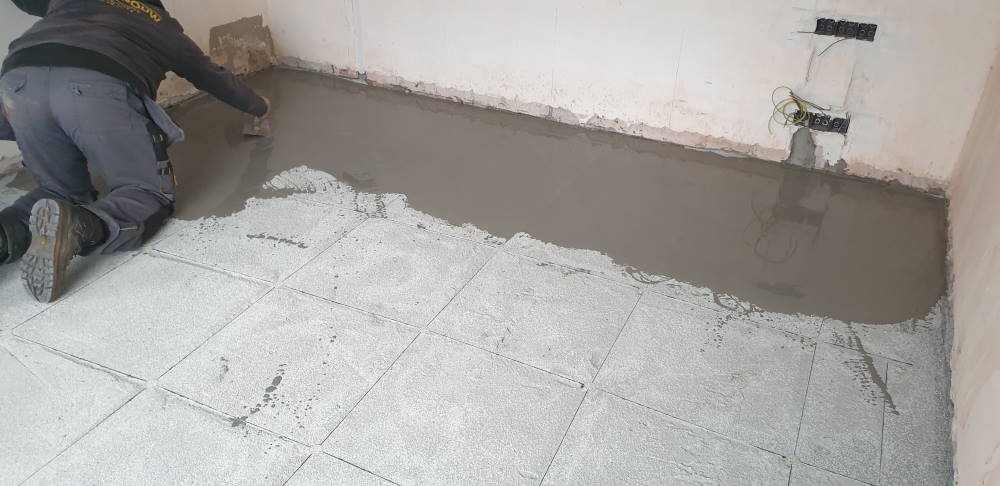
5. Applying and spreading the self-levelling compound
Is the primer dry and is the levelling mix ready? Then you can start with the real work: levelling your interior floor. Pour out the first bucket of the levelling mix and spread the mixture over the floor.
How high should you pour the self-levelling compound? In general, the thickness of a layer of self-levelling compound is about 1 or 2 millimeters. The optimal thickness mainly depends on the subfloor and the type of self-levelling compound. If you are installing your own tileable insulation screed with the handy Staenis grid, you can use this screed grid as a height reference point. In principle, you can level the self-levelling compound on the slats of the Staenis grid. However, because some self-levelling compound always sticks to the finishing trowel or screed iron, you need to float just 1 mm higher with the slat so that after levelling, the self-levelling compound comes up to the same height as the top of the grid. If you have not worked with the Staenis grid, it is best to set out reference points before you start levelling the floor. This way, you can always clearly see how high you need to pour the self-levelling compound.
Self-levelling compound is very fluid and self-levelling. To evenly distribute the self-levelling compound, you can use a trowel (also called a rake). These trowels are available in different widths and have small teeth. Once the self-levelling compound is evenly distributed, you go over it with a spiked roller. This allows the self-levelling compound to be aerated and the air bubbles to disappear. As a result, the self-levelling compound dries more evenly. After levelling, the self-levelling compound is still very wet. But after about 4 hours, the self-levelling compound is usually dry enough to walk on carefully.
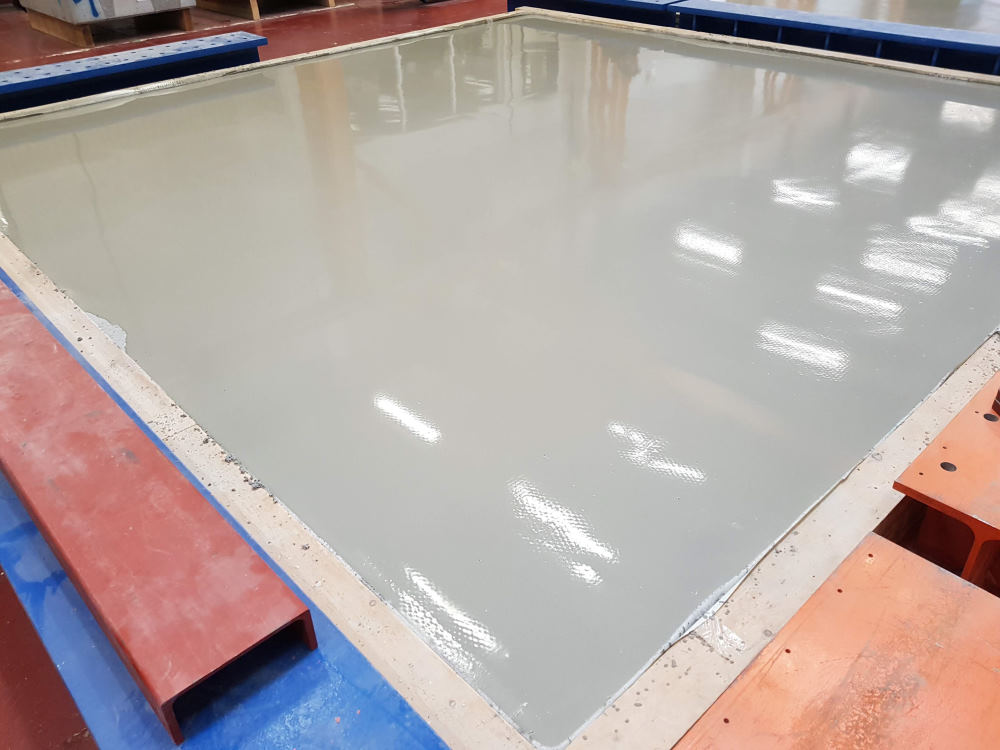
6. Let the self-levelling compound dry
After about 48 hours, the levelling compound will be dry and you will see a largely smooth surface. The exact drying time may vary but is stated on the packaging for each product. After complete curing, it is possible that small bumps can still be seen on the levelling compound. Cut off such chunks with a putty knife or sand them off. Small pits of air bubbles usually do no harm to the floor structure (e.g. laminate or tiles). Then you can finish your floor as you planned.
How to level tileable insulation screed with self-levelling compound or tile adhesive?
You may not have used classic sand-cement screed, but rather tileable insulation screed. In that case, it is also advisable to level the floor. By levelling a tileable insulation screed with levelling compound or tile adhesive, you increase the load-bearing capacity of the floor and smooth out the coarse structure of the EPS granules. With the Turbolight system from UZIN, you can further increase the surface strength. You always combine it with levelling compound from UZIN.
Mix the tileable insulation screed thoroughly and evenly so that the surface becomes as closed as possible. If the EPS-cement surface remains too open, it can absorb a lot of self-levelling compound later.
For the levelling layer, you have two options. On a closed surface, you can apply self-levelling compound in one pass, flush with the top of the Staenis grid. On an open or porous surface, work with tile adhesive or first apply a very thin skimmed layer to close holes and pores; let it dry for at least 2 hours and then apply the normal levelling layer within 24 hours. This prevents the self-levelling compound from sinking into the insulation screed and limits consumption.
If you install your tileable insulation screed yourself using the Staenis grid, levelling your floor becomes extra easy. The levelling layer simply needs to be as high as this grid. But there’s more. With the Staenis grid, you don’t need to hire a professional screeder and you can set your own schedule. Moreover, you are guaranteed to achieve a durable, even, and crack-free screed. Find out more on the Staenis website and easily order your materials online.