Self leveling concrete on slab | DIY floor leveling guide
Self-levelling floor build-up 1 - Choose a different floor structure
1mm-5cm - concrete slab - levelling compound - absorbent substrates - non-moisture-sensitive floor coverings such as tiles
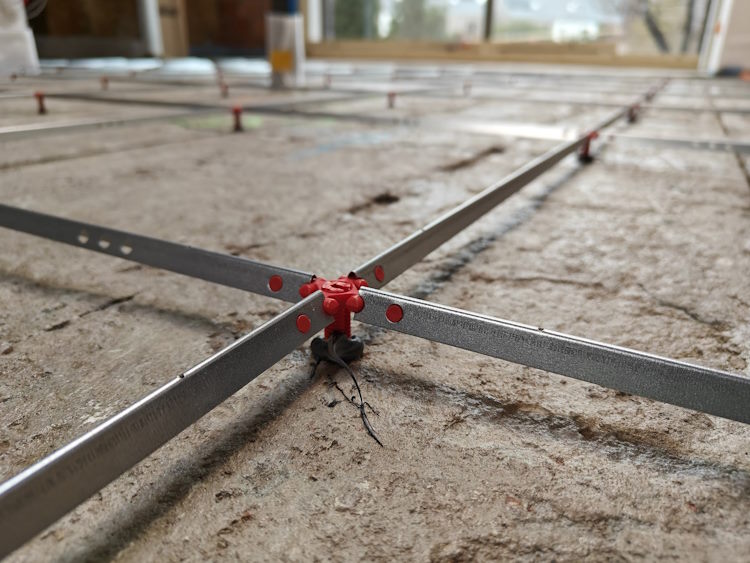
With the Staenis Levelling Grid, you can easily determine the correct height for the self-levelling compound to be applied. Additionally, the system provides slight crack-bridging functionality.
Information
With the EgalineGrid, you can easily level and reinforce uneven surfaces with a height between 1 mm and 5 cm (from 1 cm to 5 cm also possible with a bonded screed floor) .
With the EgalineGrid, you can easily determine the correct height for the self-levelling compound to be applied. The system also provides slight crack-bridging functionality.
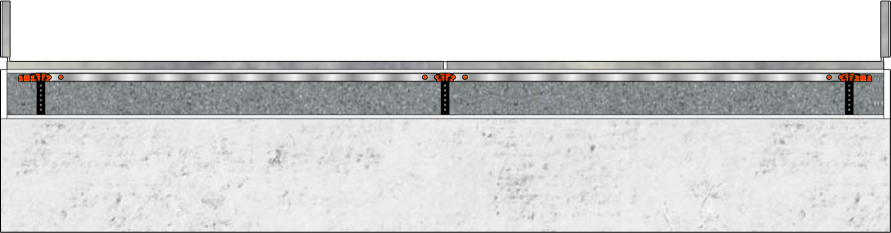
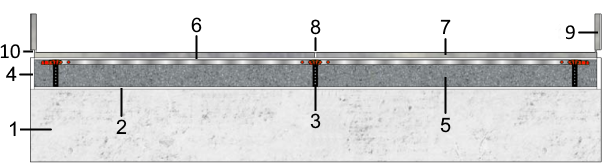
Side view of floor structure
Legend
- Concrete
- Standard primer or epoxy primer for moisture protection
- Staenis levelling grid (thickness of 1 cm to 3 cm)
- Apply edge insulation if necessary
- Self-levelling compound
- Double bonding with S1 Flex Tile Adhesive
- Non-moisture-sensitive floor coverings such as tiles
- Water-repellent, colored joint mortar
- Skirting board
- Flexible silicone
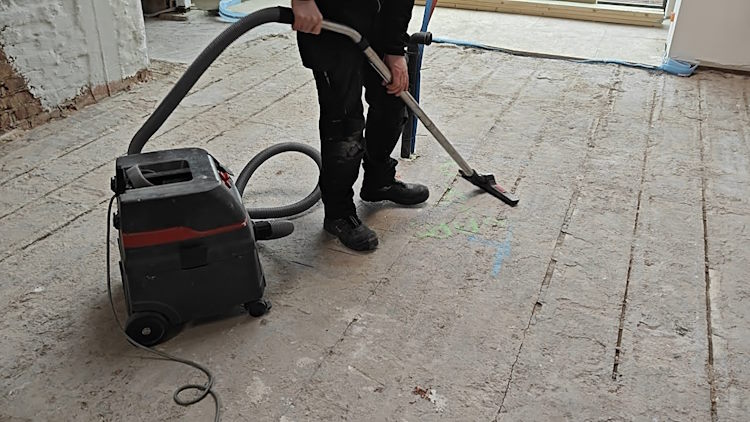
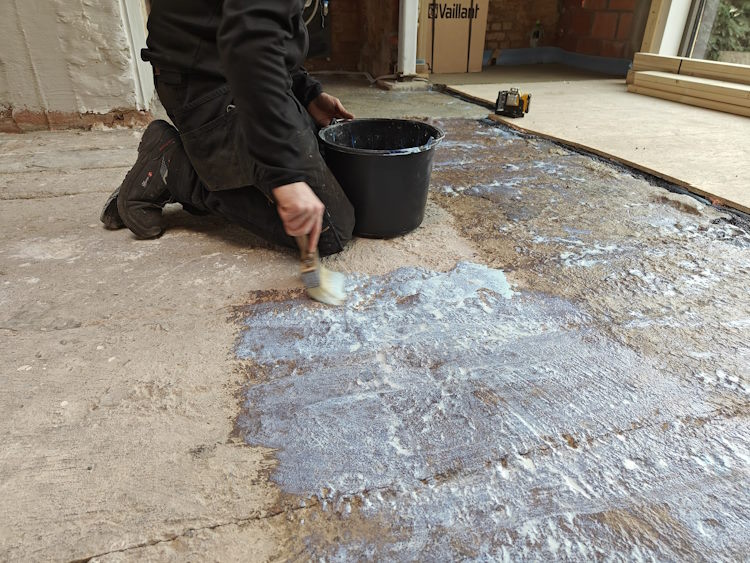
Installation video
Installation of Staenis Levelling Grid for Levelling Compound
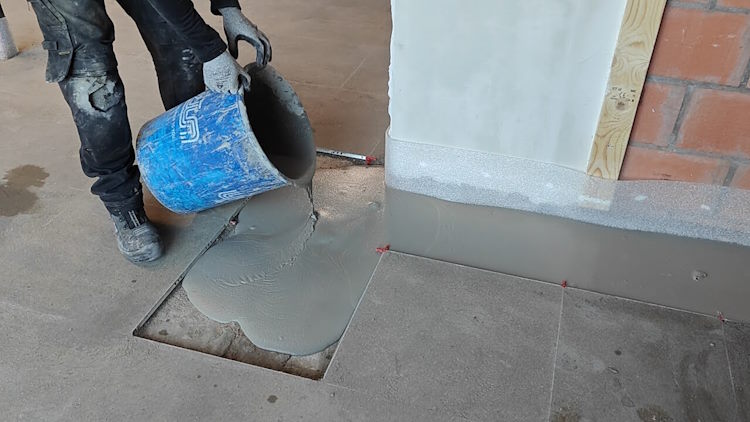
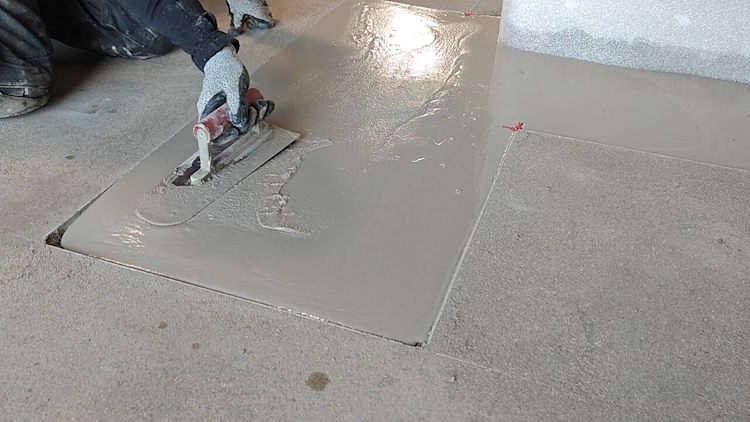
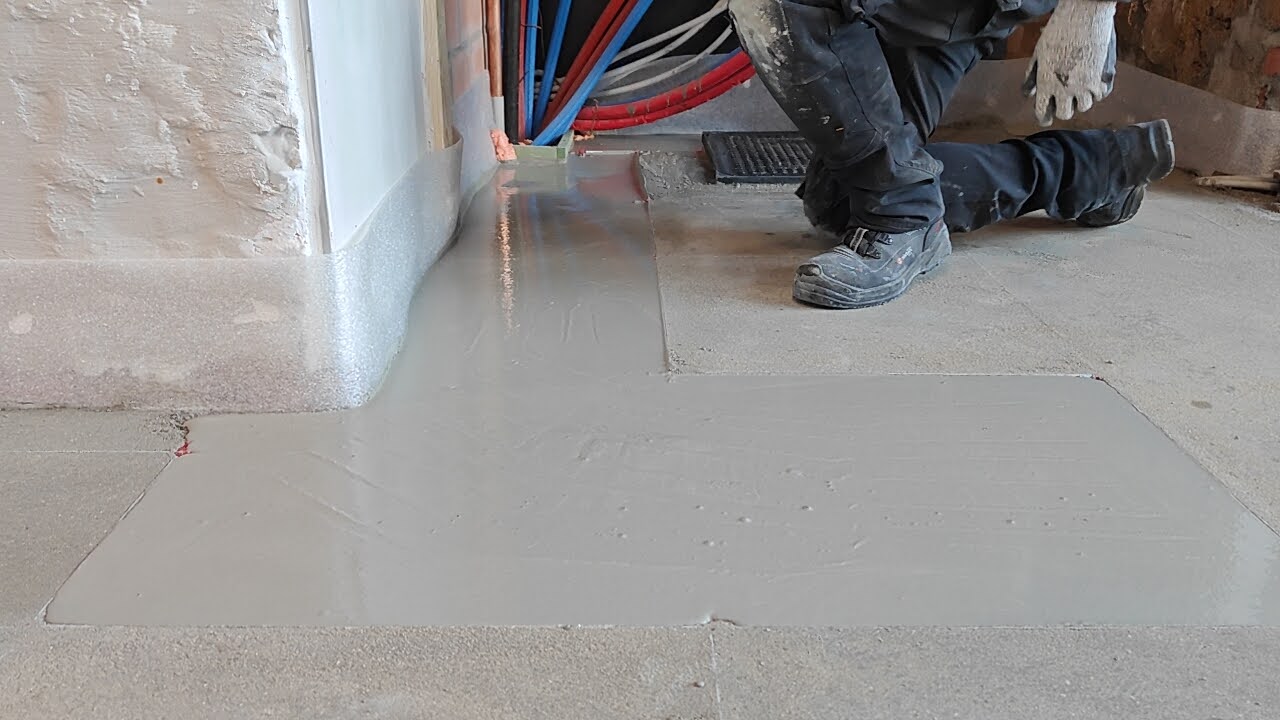
We deliver self-levelling compound and the appropriate primer to your home
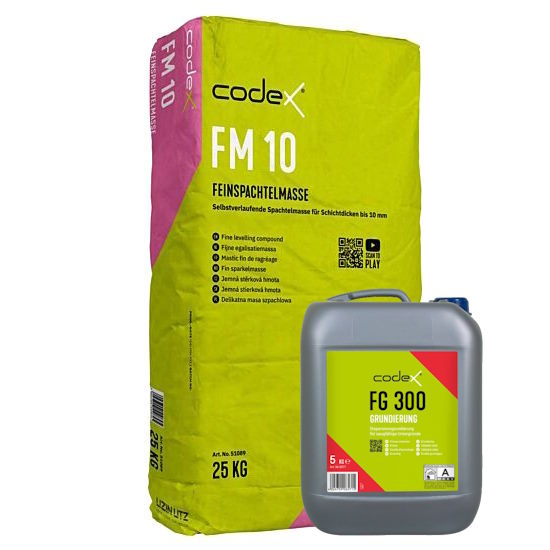
This cement levelling compound, which can handle layer thicknesses up to 10 mm, is ideal for levelling, evening out, and smoothing tileable insulation screed and screed subfloors.
This layer of levelling compound ensures that the rough surface of the insulation screed is nicely smoothed out, making it much easier to tile.
Fast-drying dispersion primer for the pretreatment of tileable insulation screed/insulation mortar, screed, or concrete. Reinforces the top layer and ensures that the tile adhesive/levelling compound adheres better and dries less quickly on the absorbent substrate.
Tip: The consumption for tileable insulation screed/insulation mortar is much higher than for screed. You can solve this by adding water to the primer, depending on the number of m².
We deliver floor levelling to your home
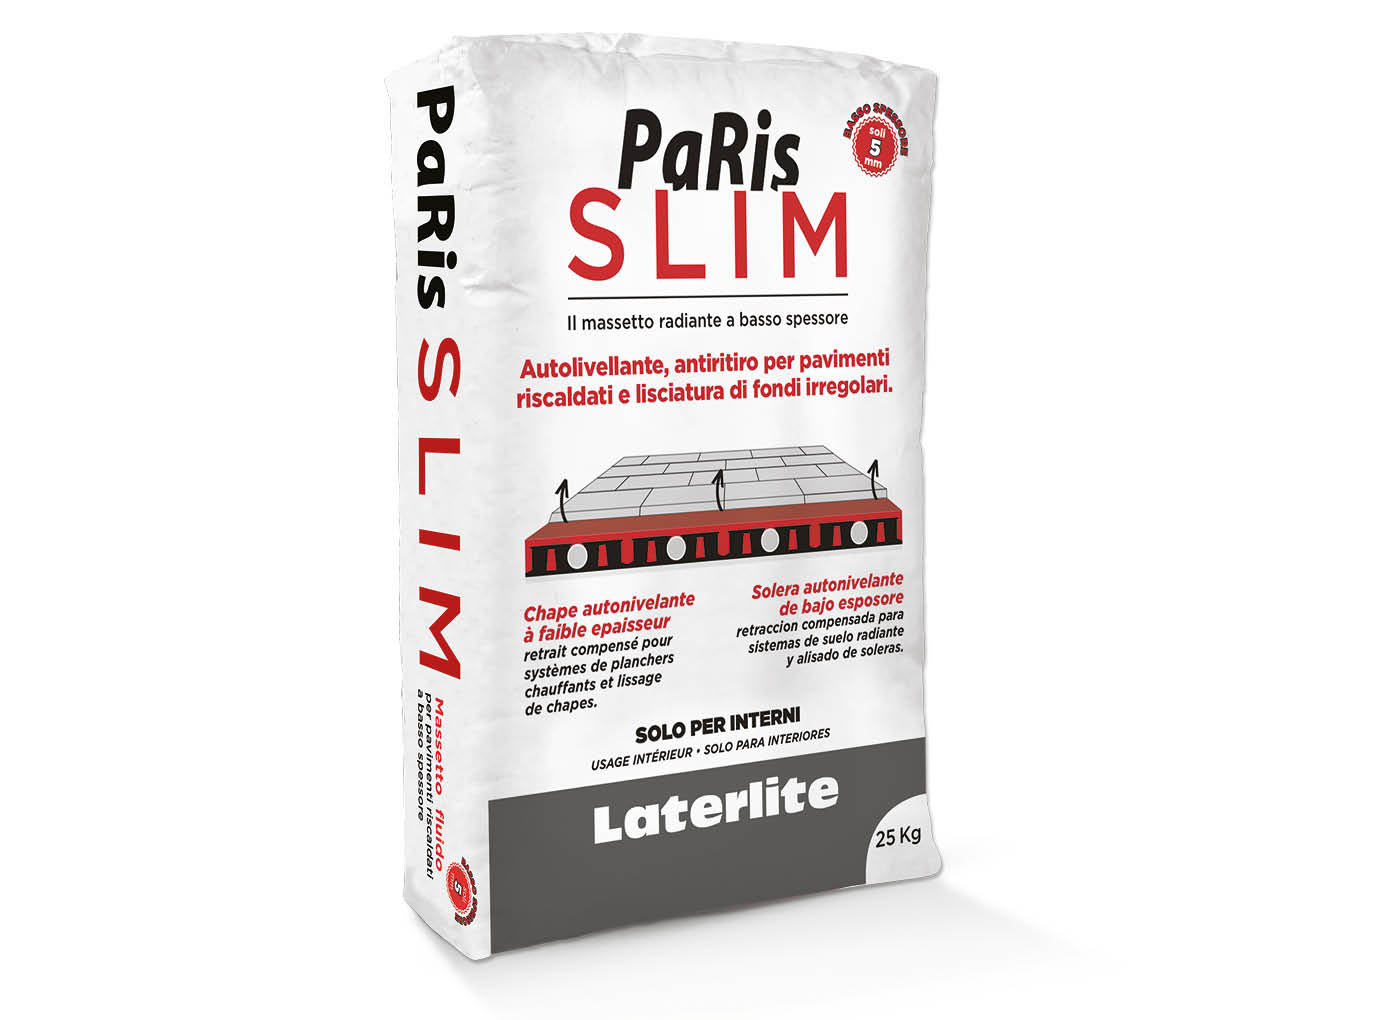
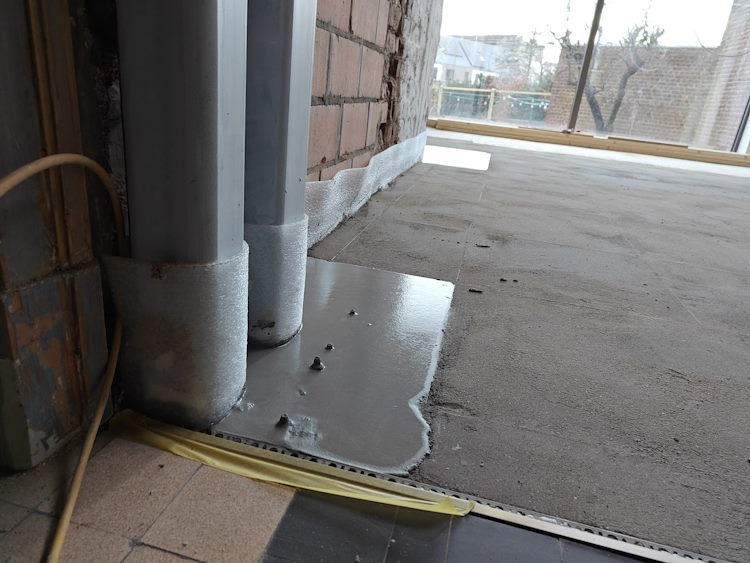
Paris Slim: cement levelling compound, suitable for layer thicknesses from 5 to 50 mm, is the perfect choice for levelling and smoothing concrete substrates. Although the use of the levelling grid is not necessary, it can be applied for extra assurance in flatness and reinforcement. Paris Slim offers a flexible and efficient solution for creating a smooth and even base for all your flooring projects.