Terrace with sloping concrete slab
Terrace 10 - Choose a different floor structure
+9 cm - sloping concrete slab - terrace/driveway - with drainage channel - ceramic tiles, natural stone and pavers
For a high-quality terrace on a sloping concrete slab, we recommend the Staenis grid in combination with drainage mortar.
Information
Tensions and moisture are the two main causes of damage to a terrace. This terrace floor build-up with drainage mortar allows moisture to drain away and is stress-free thanks to the Staenis grid, keeping the tile and joint work in top condition.
Advantages
- Achieve a perfect end result without experience
- Replaces a drainage mat = average saving of 17 euros/m²
- Replaces a decoupling mat + adhesive = saves an average of 20 euros/m²
- Replaces the steel reinforcement mesh = saving an average of 3 euros/m²
- No expansion joints required in the screed = saving an average of 3 euros/LM
- Floor construction prevents rising damp/capillary action from the ground.
- Water/moisture can quickly drain away through the drainage mortar.
- No risk of clogging of the screed
- Compartmentalization of the screed = crack-free floor screed
- No dish formation of the screed floor = perfectly level screed
- Very strong subsoil due to compacted layers underneath
- Spreading floor work over several days (no stress during installation)
- Very good adhesion to the tiles by applying a thin layer of screed on the drainage mortar. Ideal for bonding tiles or natural stone.
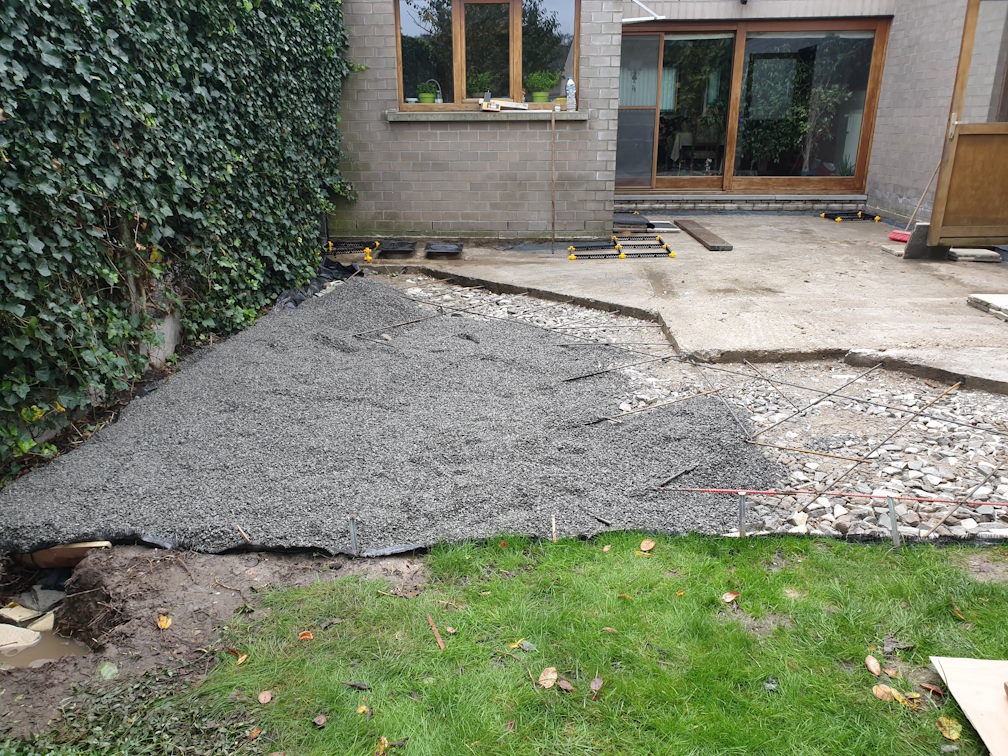
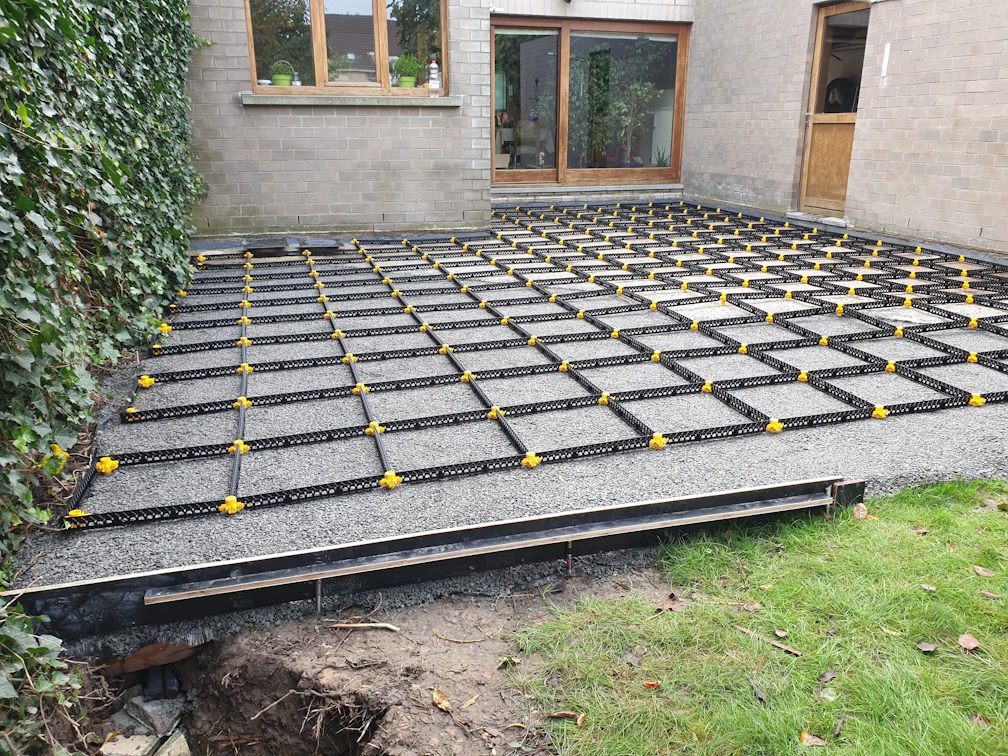
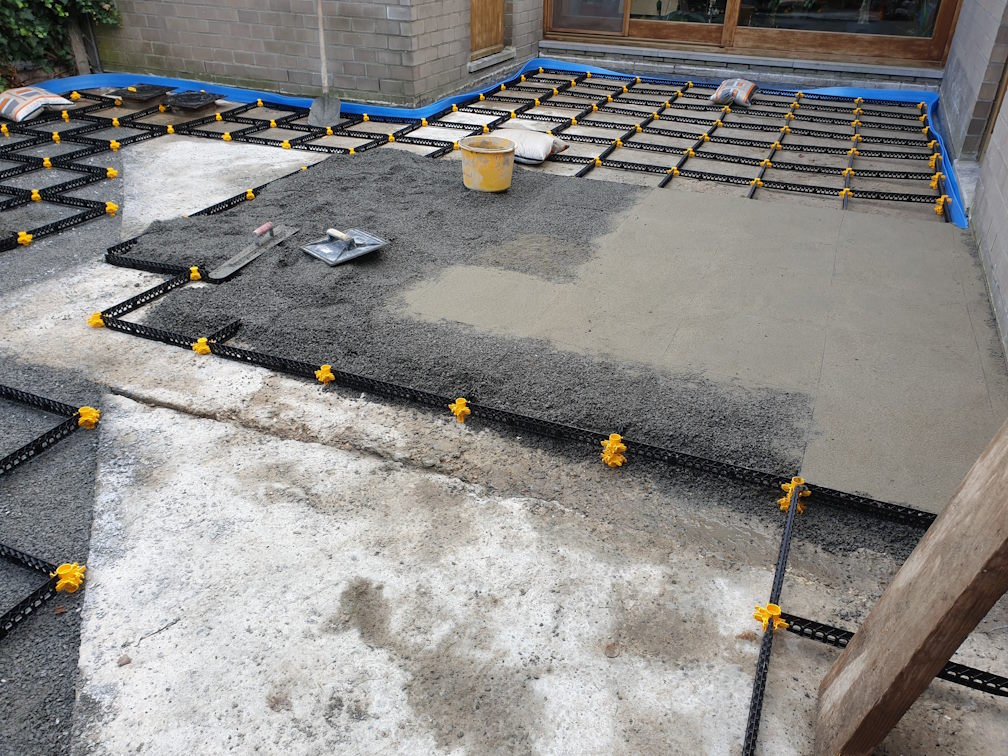
Floor construction manual
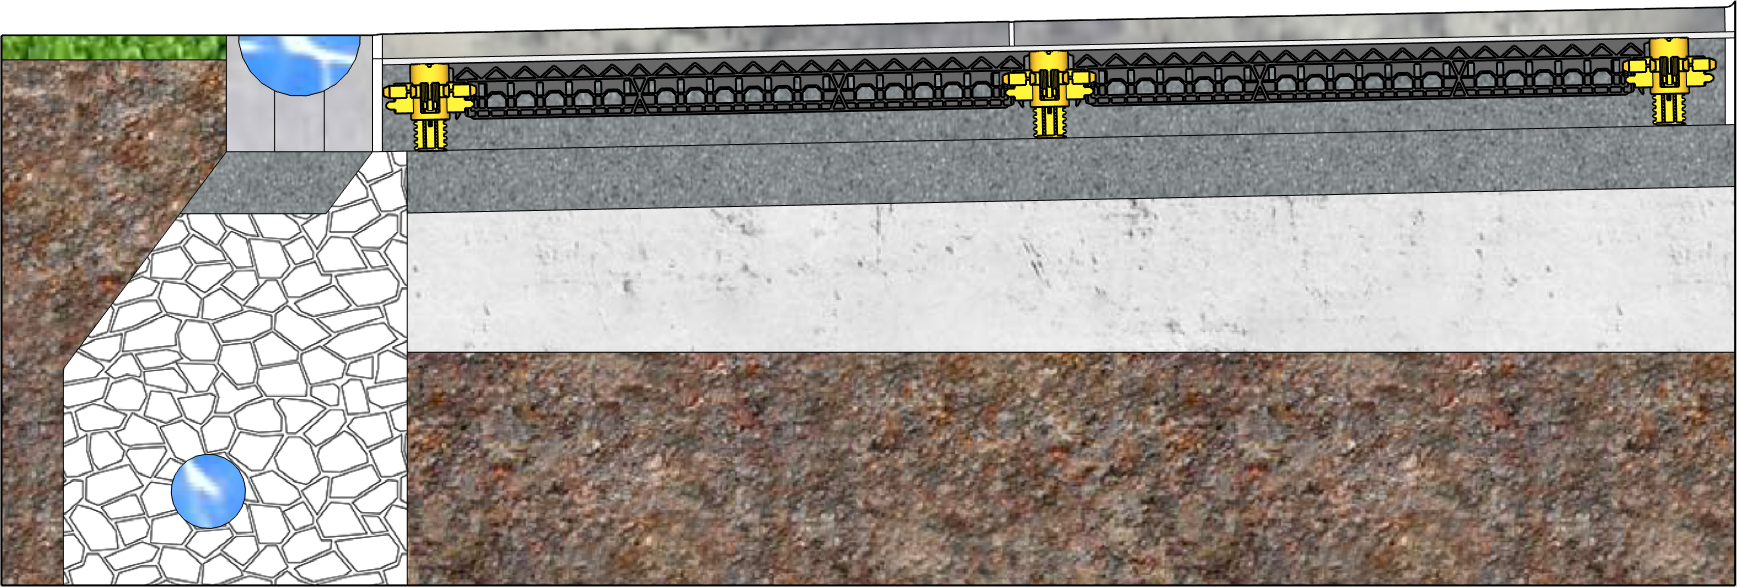
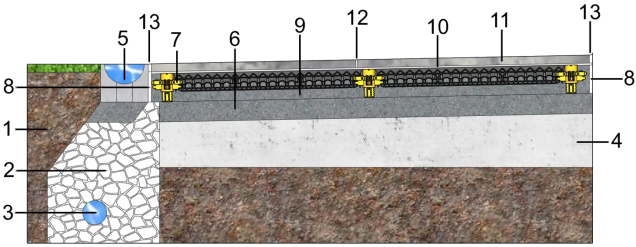
Side view of floor structure
View this floor structure in real life via Sack Zelfbouw
Legend
- Open ground
- Concrete rubble layers compacted with a vibrating plate
- Drainage pipe connected to drain
- Concrete slab
- Drainage channel
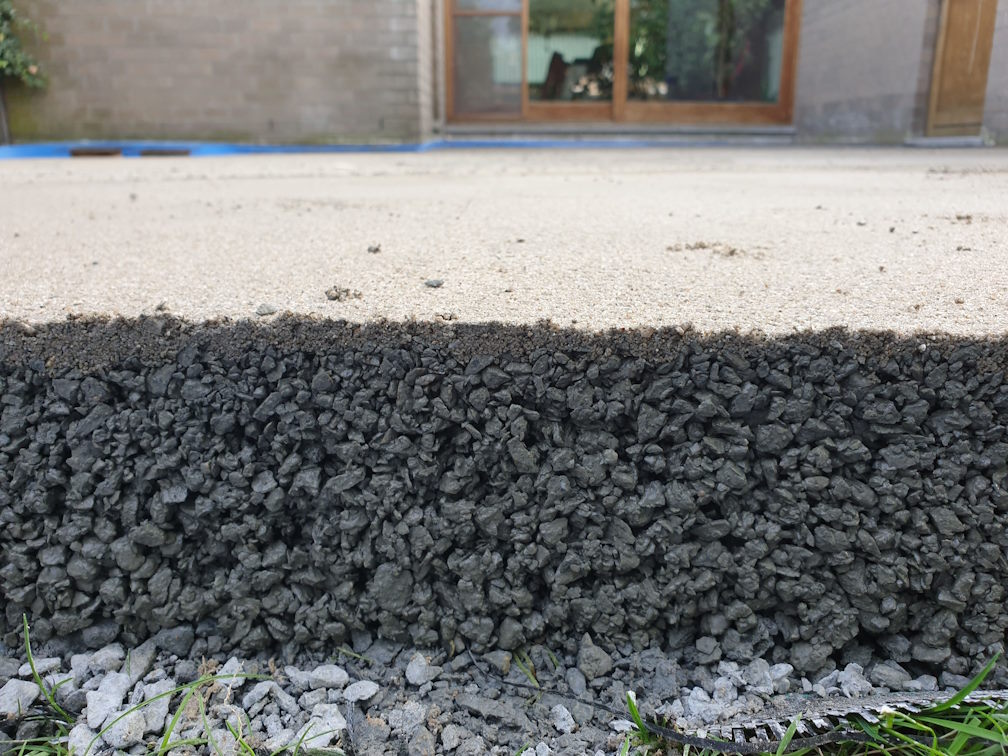
- Drainage mortar levelling layer (fine gravel with cement)
- Staenis grid (thickness of 7 to 8 cm)
- Edge insulation
- Drainage mortar (fine gravel with cement) + screed top layer
- Double bonding with S1 flex tile adhesive (S2 not allowed)
- Tiles
- Water-repellent, colored joint mortar
- Silicone
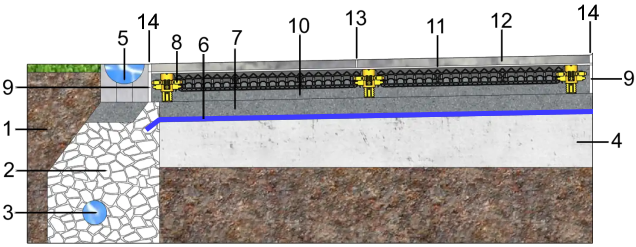
Side view of floor build-up with screed
Legend
- Open ground
- Concrete rubble layers compacted with a vibrating plate
- Drainage pipe connected to drain
- Concrete slab
- Drainage channel
- Draining mat (Schlüter Troba-Plus 8)
- Stabilized with 150-200 kg/m³ cement
- Staenis grid (thickness of 7 to 8 cm)
- Edge insulation
- Screed with 250 kg/m³ cement
- Double bonding with S1 flex tile adhesive (S2 not allowed)
- Tiles
- Water-repellent, colored joint mortar
- Silicone
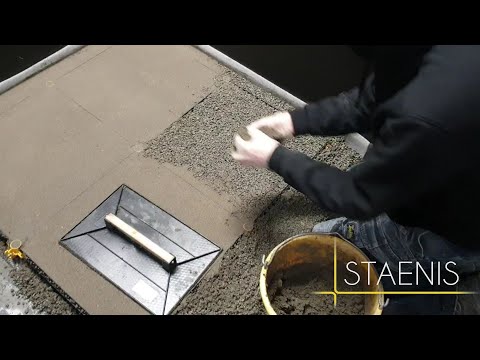
Installation video

We deliver drainage mortar and screed in a silo to your home (only in Belgium)
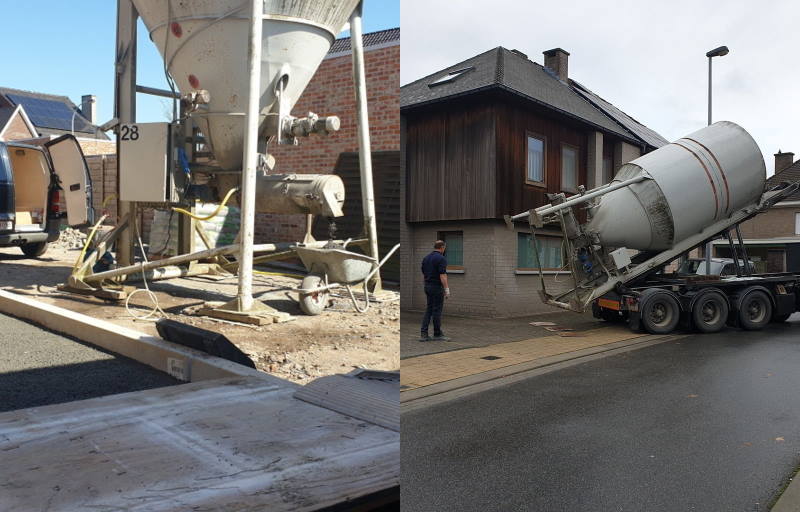
With a simple press of the button on the silo, you produce fresh drainage mortar or sand-cement screed at a rate of 3 m³/h, and this without time pressure to process the large quantity of mortar.
There are actually 2 separate compartments in the silo. One part is filled with porphyry (2-6mm) or sand (0/4-0/7mm), and the other part is filled with dry cement (250kg/m³). These are only mixed with water at the moment you wish.
The big advantage of this is that you can create fresh drainage mortar or sand-cement screed at your own pace and for several weeks.
We deliver drainage mortar in bags to your home
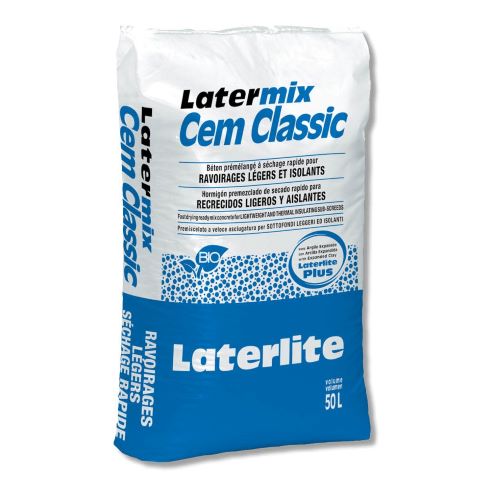
Cem Classic: drainage mortar, now conveniently packaged in bags. This can be used/applied in the same way as drainage mortar from a silo, but with the added advantage that it is three times lighter. This property makes processing significantly easier. Ideal for creating a water-permeable base for small or hard-to-reach terraces.
We deliver screed in bags to your home
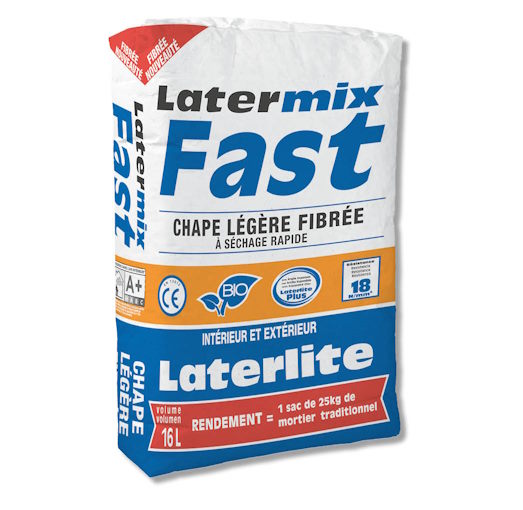
Fast: Fast-drying, fibre-reinforced screed with only 2/3 of the weight compared to traditional screed. This makes the work significantly less heavy when working with bagged material instead of traditional screed. Ideal for applying a bonded screed floor or for small spaces, both indoors and outdoors. This Fast screed is easy to spread, allowing you to achieve a flat finish more quickly.
Special sealant for joints between ceramic tiles
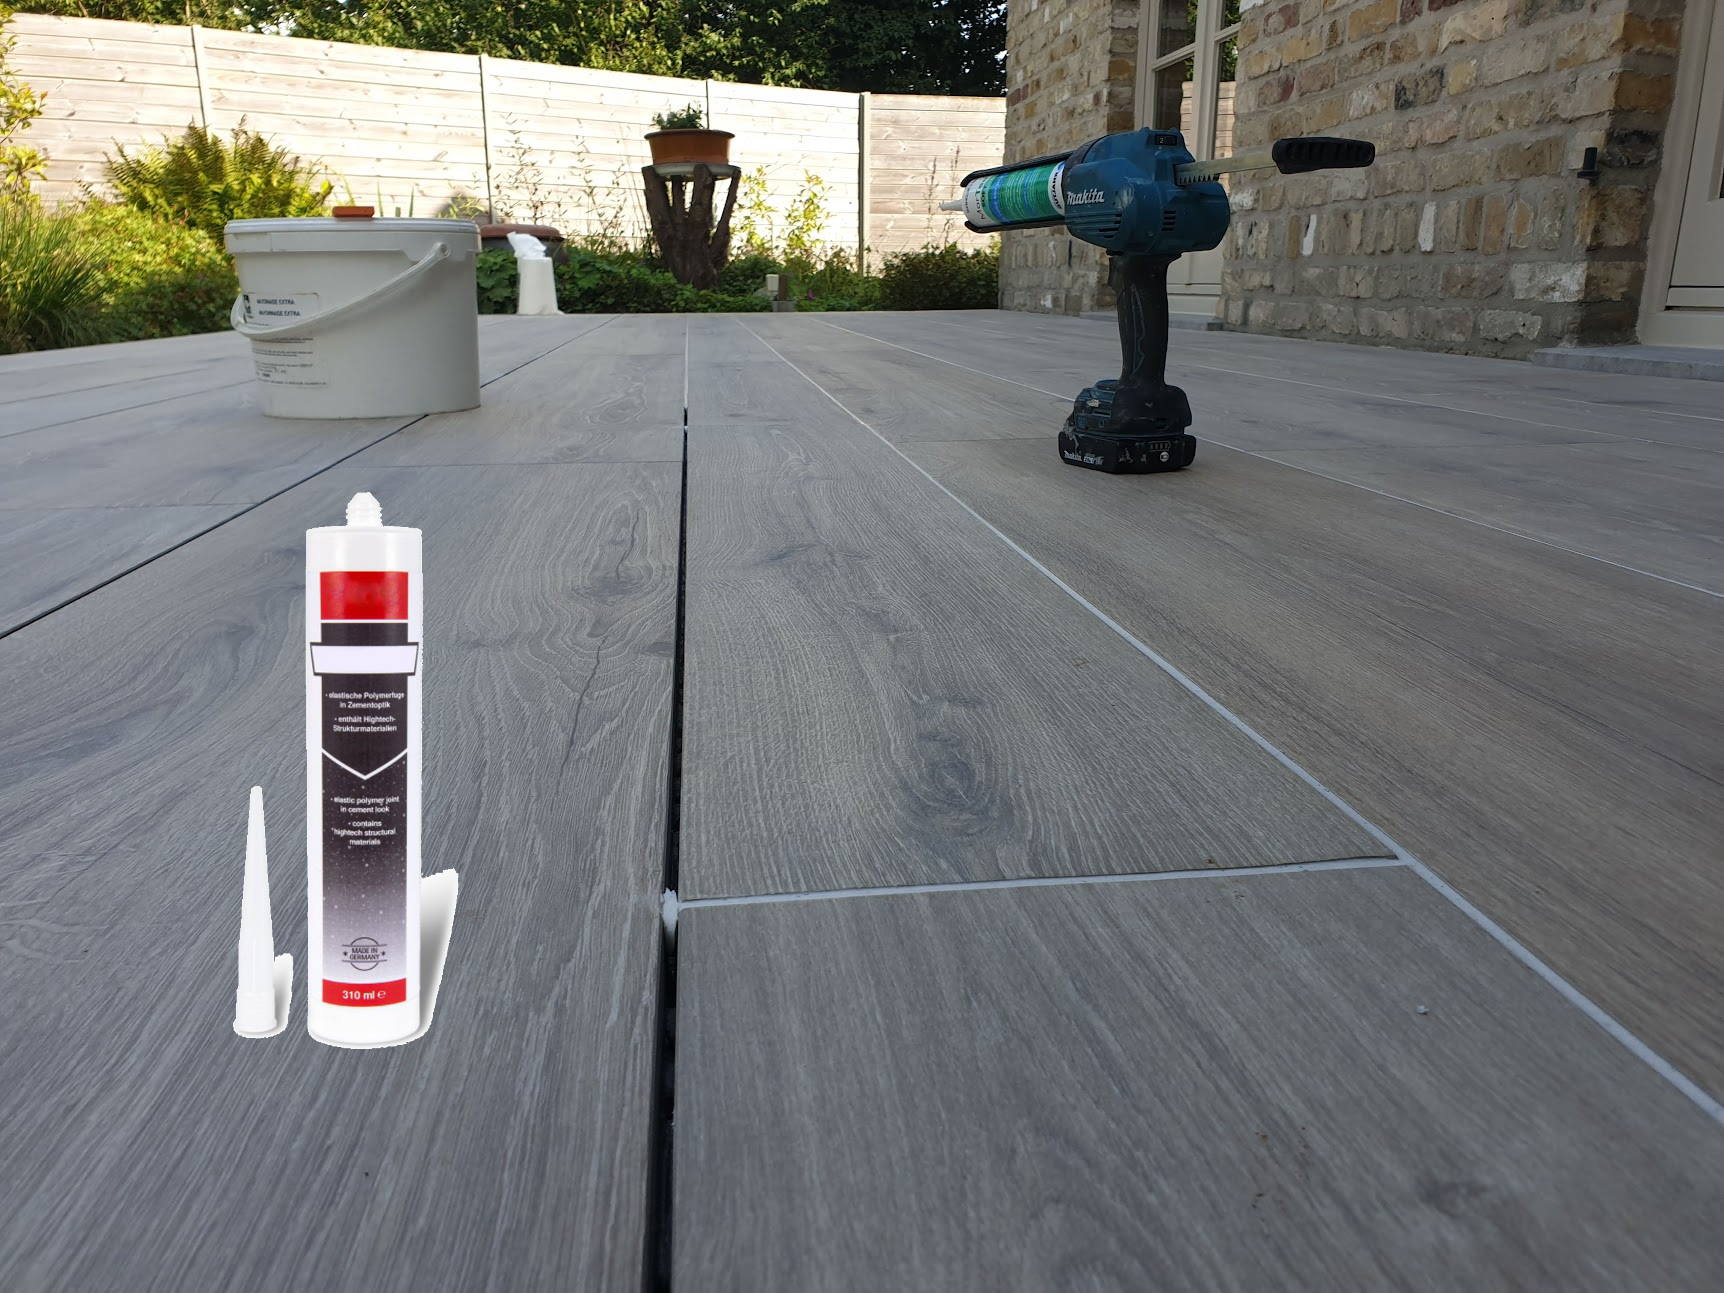
Because this joint sealant looks just like a cement joint, the product can also be used as a replacement for conventional grouts.
Scope of application when grouting 2 cm thick ceramic terrace tiles with a 3 mm joint.
This joint sealant is super flexible and adheres extremely well to the side of the tile. The joint also does not discolor when moistened, which looks aesthetically pleasing.
Buy this tile grout silicone here