Best sand for screed | correct screed ratio and mixing guide
By Staenis | | Manual
Making screed yourself: what are the right proportions?
If you want to install a new floor, you first need a solid base. That’s why a screed or screed is placed between the levelling layer and the floor finish. If you want to make screed yourself, you need to know the correct composition of screed and have the precise ratios at hand. Discover everything you need to know to make screed yourself.
Why install a screed or subfloor?
To be able to install a finishing layer (tiles, parquet, etc.) on your floor, it must be perfectly smooth. This can be achieved with a screed or screed. A screed provides a strong base for your floor, protects utility lines, and contributes to the long lifespan of your floor. Screed is mandatory, but also simply a good idea. You can have your screed delivered ready-mixed, make it yourself, or have a screed silo delivered for larger quantities. You can even lay your screed yourself, even if you have no experience! Discover a handy DIY system.
Types of screed and their composition
Screed usually consists of sand, cement, and water. Before you enthusiastically head to the hardware store, you should know that there are different types of screed. Other compositions are therefore possible. In addition to cement-based screed (also known as traditional screed), there is also gypsum-based screed (anhydrite liquid screed) and levelling screed with insulating properties (insulation screed). Which type of screed you should use depends on how your floor is constructed and what requirements the screed must meet. Discover the most suitable floor structure for your new floor.
The composition of traditional screed (sand-cement screed)
This time we are talking about the crowd favorite among screeds: sand-cement screed. This cement-based screed can be used as a flat base for all types of floor coverings such as tiles, laminate, parquet, and so on. What type of cement do you need for sand-cement screed, and which type of sand is best to choose? What are the correct proportions? You can read all about it further on in this article. Budget tip: discover this handy DIY system before you hire a screeder.
Making screed: which cement should you choose?
If you want to make sand-cement screed, you have a choice of different types of cement. The cement you choose also determines the final strength of the screed. Common types of cement are Portland cement (CEM I) and Portland composite cement (CEM II). But blast furnace cement (CEM III) and composite cement (CEM V) are also contenders. Usually, cement type CEM II with a strength class of 32.5 is chosen. This type of cement is easy to work with at temperatures between 10 and 20 degrees Celsius. At very low temperatures, cement types CEM I, CEM III A, and CEM II are preferred. And at very high temperatures, you go for CEM III B and CEM II, depending on the composition.
What strength class should your cement have?
The most common strength classes of cement are 32.5, 42.5, and 52.5. If the temperature of the substrate or the ambient air is between 10° Celsius and 25° Celsius, you choose the strength class based on the drying time you want to achieve. For normal hardening, choose strength class 32.5; for faster hardening, strength class 42.5 is more suitable. At a temperature above 25° Celsius, strength class 32.5 is appropriate. If the temperature is below 10° Celsius, it is best to look for a strength class of 42.5.
Which sand to use for screed?
A common mistake when making screed is using sand that is too fine. For preparing traditional screed (sand-cement), it is preferable to use coarse river sand with a grain size of 04/07. Due to the coarse, round grain size, this sand is very easy to work with and results in a stronger screed with less shrinkage stress.
Making screed yourself: what is the correct ratio between sand and cement?
Not only the type of cement determines the strength of your screed; the sand/cement ratio also plays an important role. What is the correct ratio between sand and cement? That depends. If a finishing layer will be applied to the screed, it is best to use one part cement to four or five parts sand. If there is no finishing layer on the screed, as is the case, for example, when applying a levelling layer, the ratio is one part cement to eight parts sand (stabilisé). The ideal mixing ratio of sand and cement depends on the finishing layer. If in doubt, you can contact your supplier. Good to know: if you are making screed to use with the handy Staenis self-build system, use one part cement to five parts coarse river sand for optimal results.
How much screed do I need?
For a traditional sand-cement screed without underfloor heating, a minimum screed thickness of six cm is recommended. For a traditional sand-cement screed with underfloor heating, or in a garage, it is best to use a minimum thickness of seven to eight cm. If you opt for a screed thickness of six cm, you need 120 kg of screed per m². If you choose a screed thickness of seven cm, you should provide 140 kg per m². With a screed silo, the cement and sand are completely dry, so the weight will be slightly lower per m³. Easily calculate online how much screed you need for your subfloor. In one go, you will discover everything you need to install your screed yourself.
How to make screed yourself?
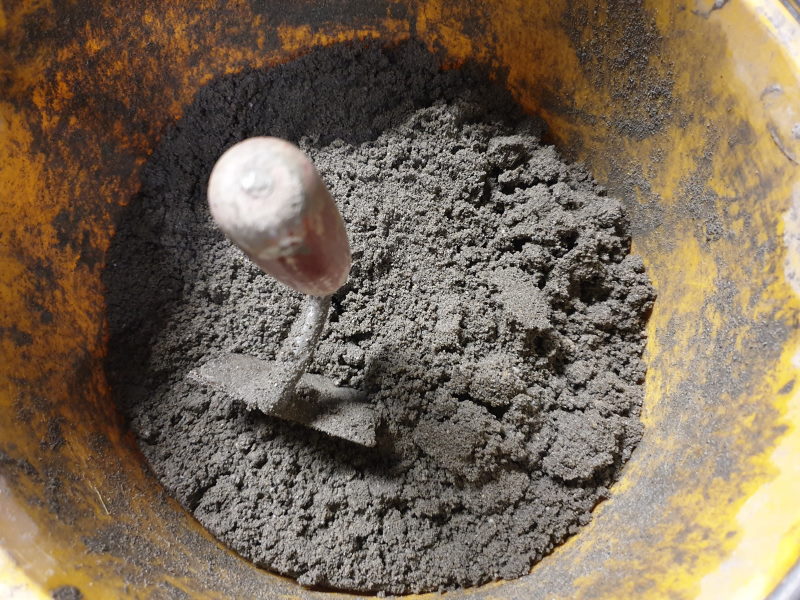
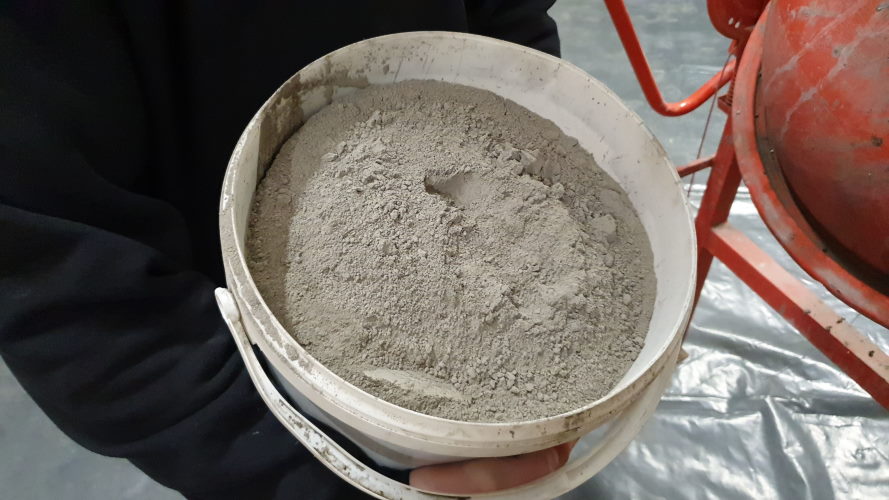
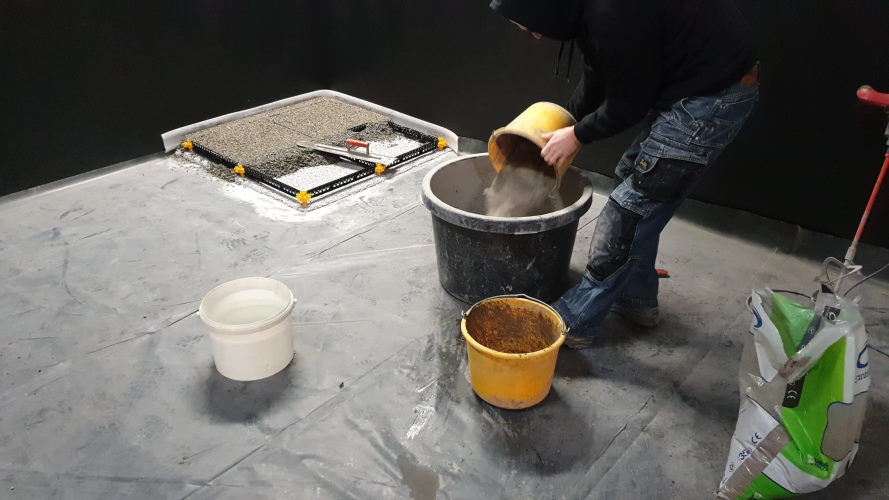
Small amounts of screed can be prepared on a waterproof sheet. On this, you can easily mix the sand and cement. For larger amounts of screed, it is better to use a concrete mixer. First mix the sand and cement, according to the previously discussed ratio. Once you obtain a homogeneous mass, add water with a sprayer until you get an earth-moist mixture. Slowly adding water with a sprayer ensures that you avoid lumps of cement when mixing in a concrete mixer. A good test: squeeze some mixture into a ball. If the ball falls apart, the mixture is still too dry and you need to add water.
Easily install your screed floor yourself
Do you already know who will be installing your screed? Even if you have no experience, you can easily install your screed floor structure yourself. With the Staenis DIY system, you can install your floor structure quickly and evenly, without the risk of cracks. This results in savings in various situations, and you can also choose when to get started. Another advantage: if the screed work is not completely finished in one day, you can continue screeding at a later time without any time pressure. Discover all the benefits of the Staenis DIY system.
Save with the Staenis self-build system
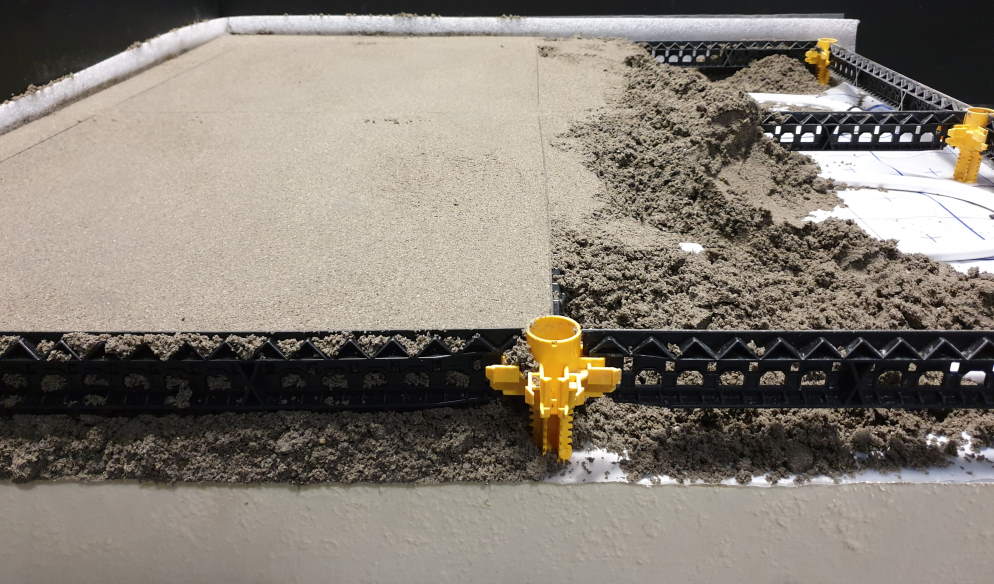
How does the Staenis self-build system work? The plastic Staenis grid consists of slats and height-adjustable legs, which you simply click together and adjust in height with a screwdriver. Your screed is then placed in these grids. During the compacting and levelling, you can easily follow the height reference points of the Staenis grid. Curious? Discover with the Staenis floor build-up overview which is the best floor build-up for your site. You can easily order your Staenis grid, the necessary fillers and the installation tools online.
Traditional screed is made with sand, cement, and water. With the handy Staenis grid, you can easily install your screed floor structure yourself. Screed for use with this DIY system is made according to a mixing ratio of five parts coarse river sand to one part cement. After mixing, add water until you obtain a good slurry. Get to know the Staenis DIY system and learn here how to get started with creating your floor structure.