Laying insulation screed yourself | information, advice, prices

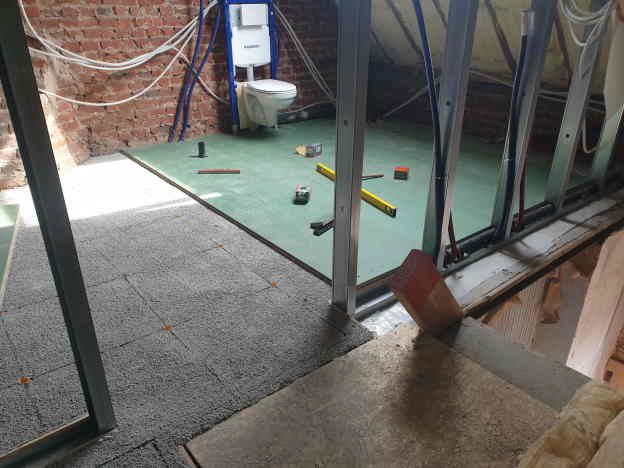
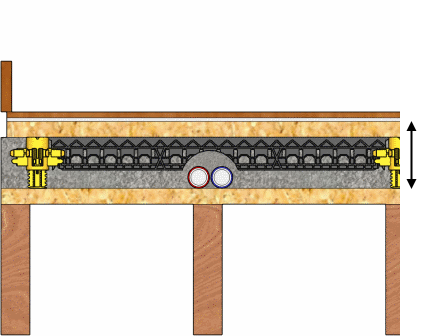
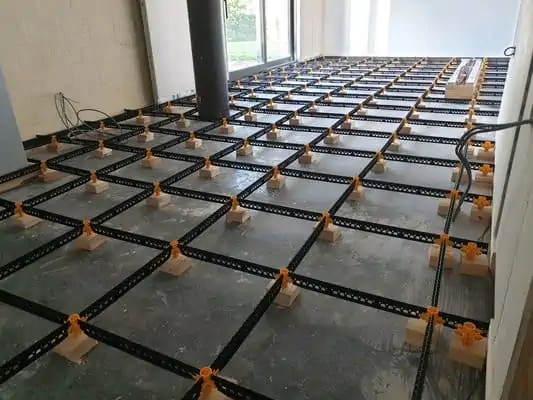
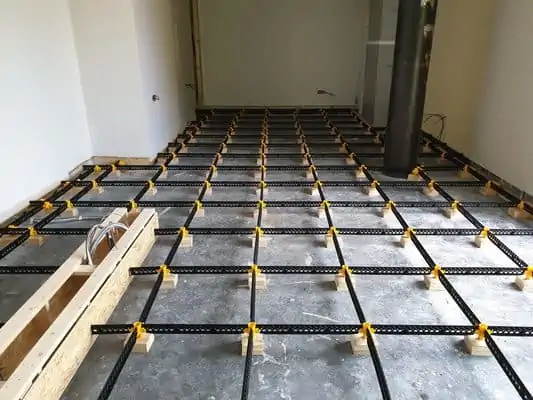
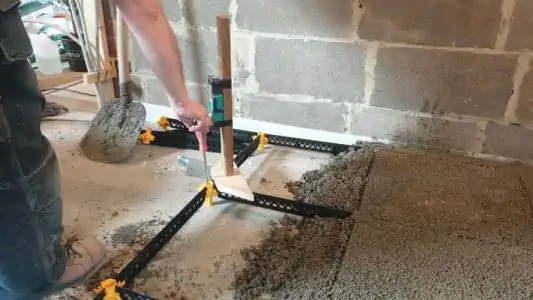
This lightweight floor structure is ideal for spaces with limited floor build-up height. The Staenis grid makes it possible in this situation to insulate your floor structure, level it, and quickly finish it with tiles or OSB boards.
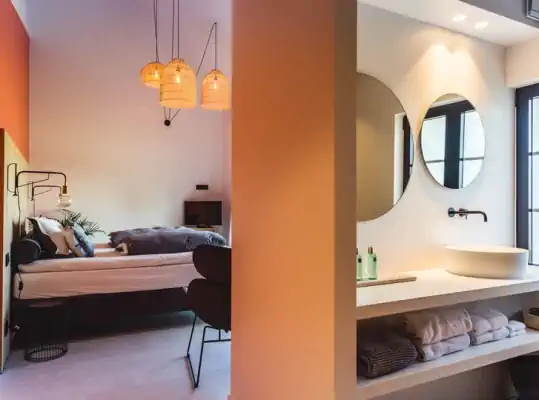
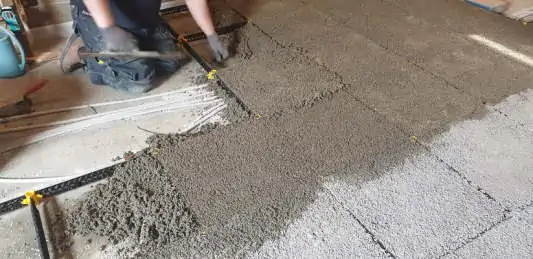
A floor structure with insulation screed is 7 to 10 times lighter than a traditional screed and very pleasant to install. Tiles, laminate, multilayer parquet, etc. will also feel warmer due to the insulating effect of the screed.
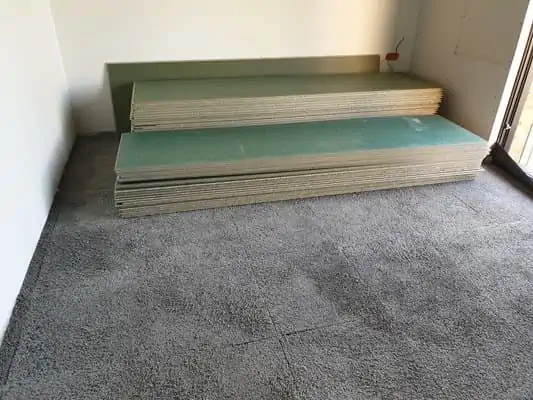
The tileable insulation screed can be tiled directly, with a primer and levelling compound or tile adhesive layer, after 3 to 4 days of drying time, whereas for a screed this is 28 days.
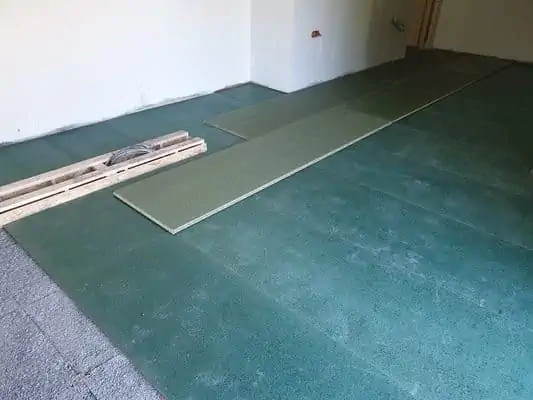
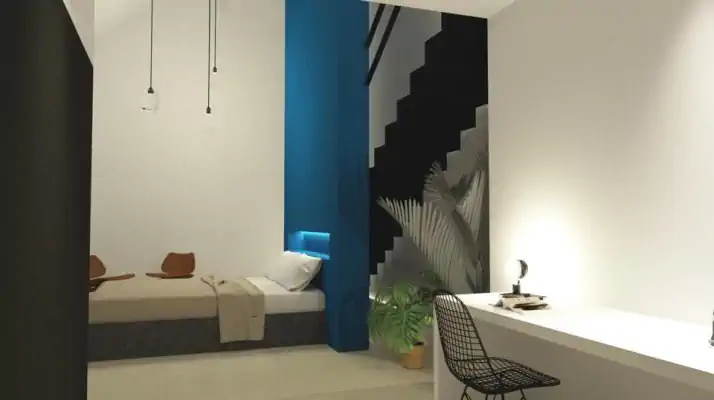
With regular insulation screed, the Staenis grid serves as a simple height-adjustable wooden framework. This allows you to screw OSB or Durelis boards into the slats of the Staenis grid and then cover them with, for example, multilayer parquet or laminate.
Applications
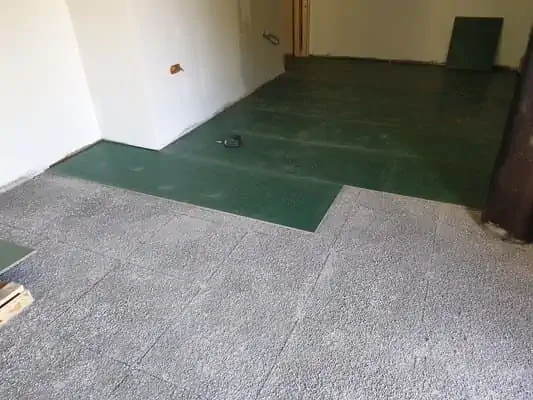
On the floor: Create a very lightweight and insulating subfloor for installation with a floating floor covering.
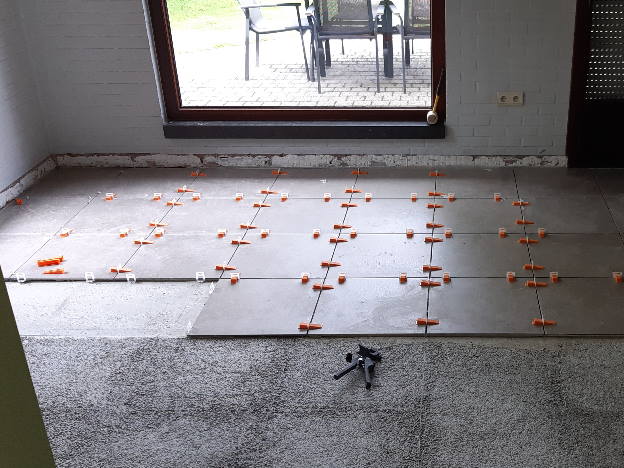
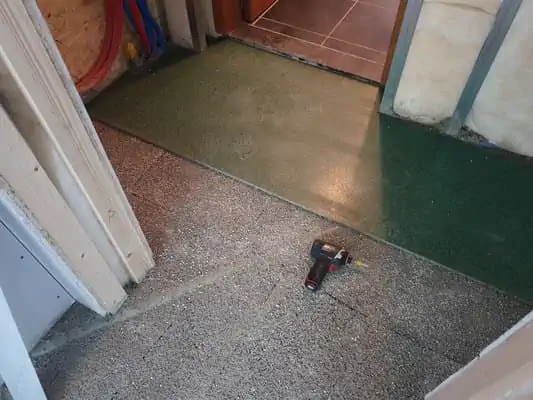
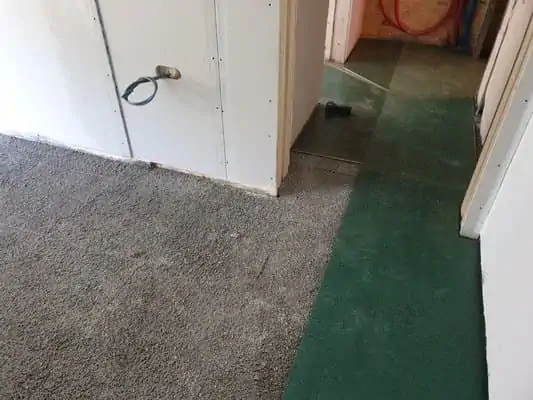
Low building height: Create a very lightweight and insulating subfloor, on which you can glue tiles after a few days of drying.
Possible insulation screed floor build-ups
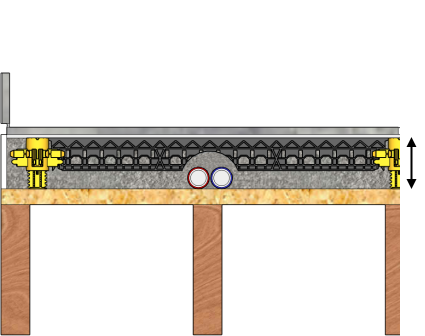

Other insulation screed floor structures with screed
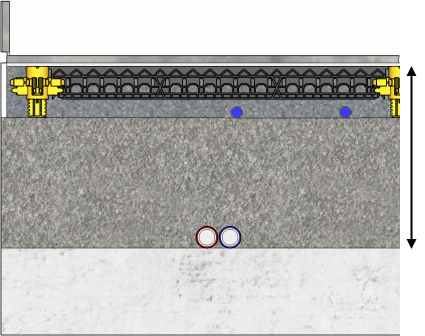
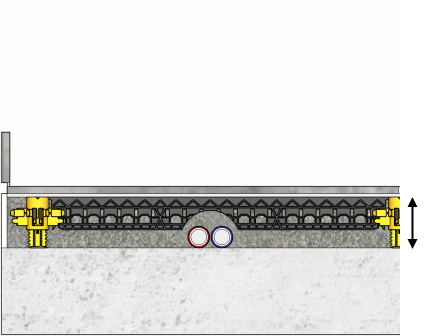
Screed floor build-up 2 & 3
+9.5 cm - concrete slab - insulation screed - underfloor heating
See more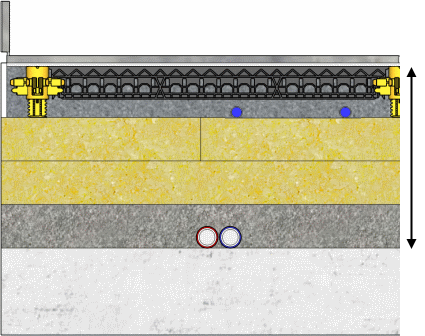

Blogs (guides)
Why insulation screed?
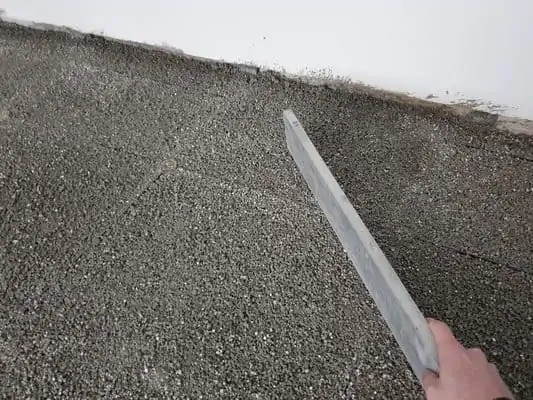
If you are going to install a new floor, it is best to also provide a screed. When a screed is placed directly on the load-bearing floor, it forms a solid base for your floor covering or floor finish. But you can also opt for insulation screed: a mixture of EPS granules, cement, and water. Insulation screed offers a strength that is more than sufficient for a private home and also provides good insulation for your floor. Did you know that a floor structure with insulation screed is 7 to 10 times lighter than one with traditional sand-cement screed? Ideal for, for example, an attic or bathroom. Tip: tileable insulation screed has a very high cement content and can be tiled directly.
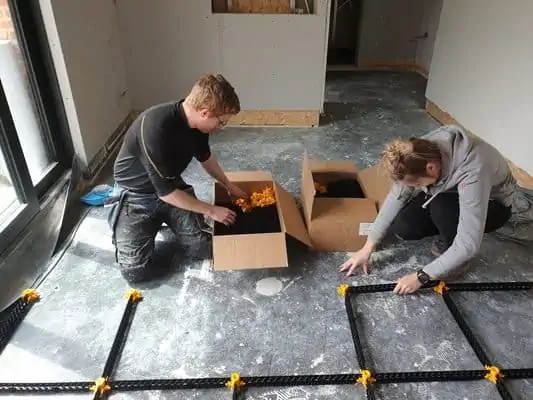
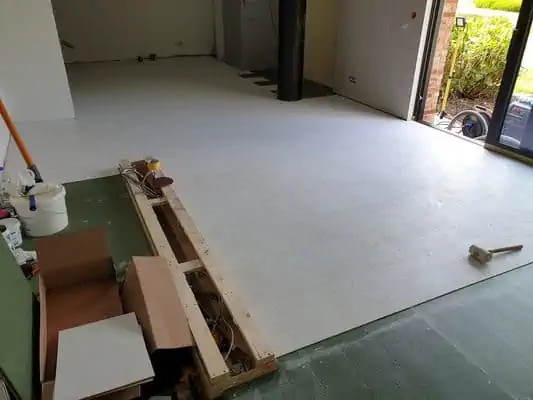
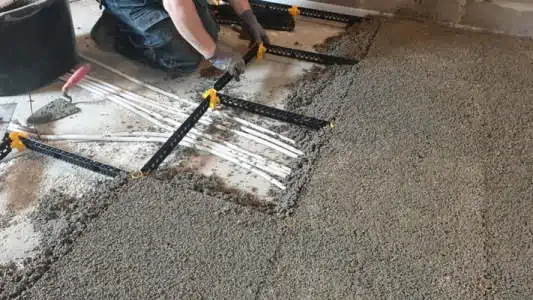
Installing insulation screed yourself with EPS beads
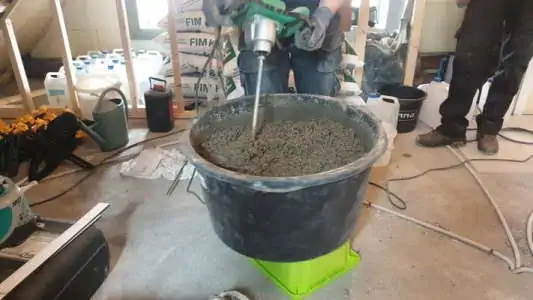
Requirements and preparation: The convenient thing about insulation screed is that you actually don't need many products to get started. Our insulating mortar with EPS beads is available in handy bags. These contain ready-to-use insulation screed to which you only need to add water. The insulating mortar can be mixed either with a hand mixer in a tub, with a concrete mixer, or with any screed pump. Once you have all this ready, you can get started. Don't forget that cement can be harmful to the skin, so protection is a must. Gloves are not a luxury. Take safety precautions before you begin.
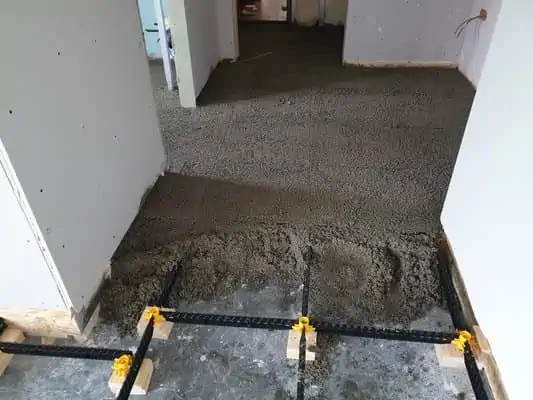
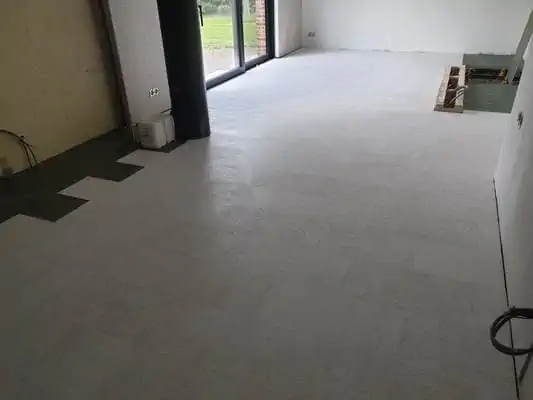
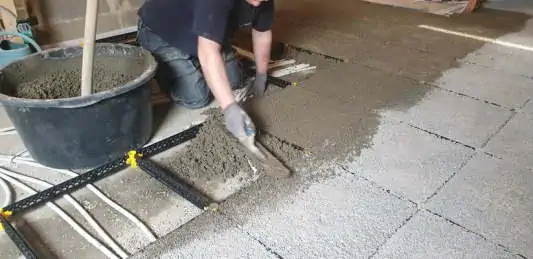
Easily install insulation screed yourself
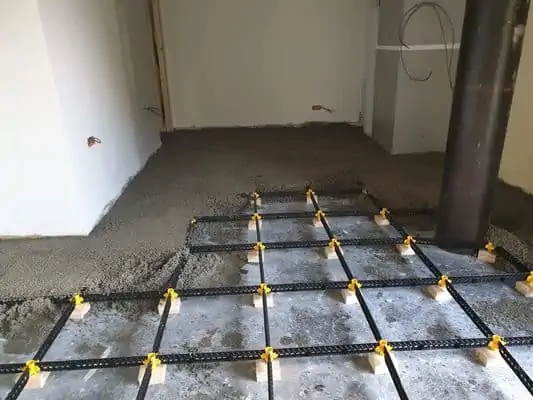
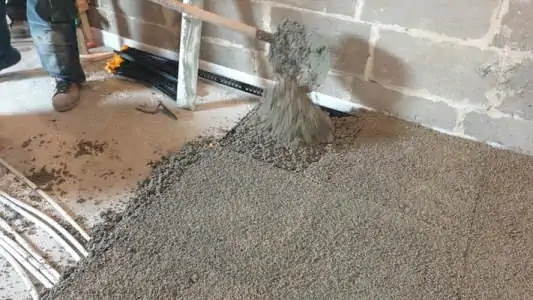
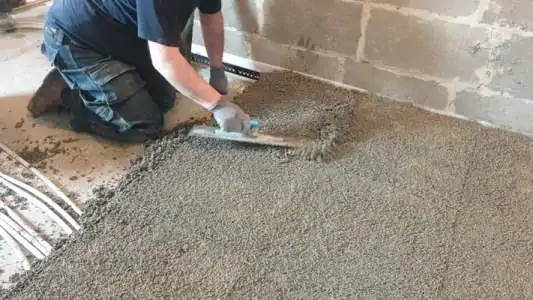
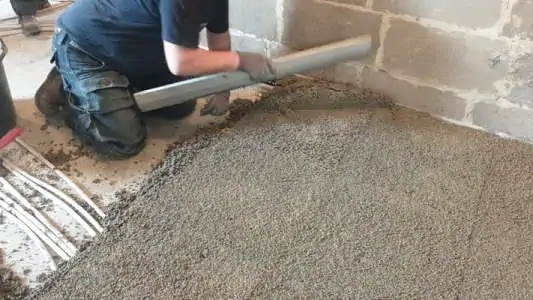
Placing insulation screed yourself does not have to be difficult, as you can simply buy our products from our webshop. The insulation screed contains EPS beads and all additives in the correct proportions, so you only need to add water. This makes it perfectly possible for the DIY enthusiast to install insulation screed themselves. The insulation mortar can be applied to any substrate, whether on concrete slabs, sand, or wood. This way, you can create the perfect levelling of the substrate yourself and provide a perfect base for the screed.
Insulating properties of EPS beads
EPS beads are a very good insulating material that are mixed with cement to make insulation screed. The lambda value of the EPS beads is low, which means that the material has a high insulating effect. When you request a quote for insulation screed, it is often stated that this type of insulating material is used.
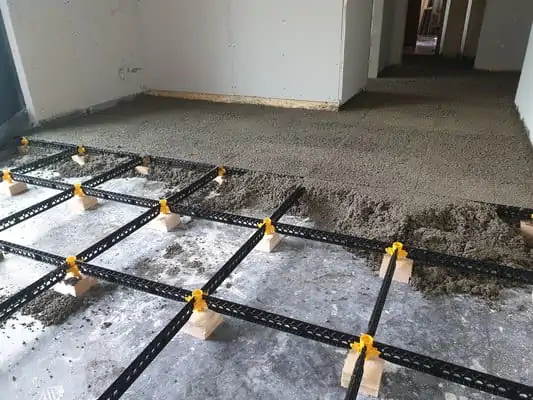
Mixing process and acoustic advantages
When mixing the insulation screed, the EPS beads are combined with cement, giving the screed its strength and insulating properties. In some situations, insulation screed can also provide acoustic separation, which helps to reduce noise pollution.
Purchase and preparation of EPS screed
In most cases, self-build insulation screed is sold per bag and not per square meter, which makes it easy to order and have the required amount for your project delivered. EPS screed is available ready-made, and you only need to add water to make the mixture.
Conclusion
Installing insulation screed yourself with EPS beads is a simple and efficient way to insulate your floor. It offers many advantages, such as preventing thermal bridges, increasing living comfort and indoor climate, and providing an environmentally friendly solution. With the right preparation and materials, you can install insulation screed yourself and thus create a perfect base for further finishing layers and floor coverings.
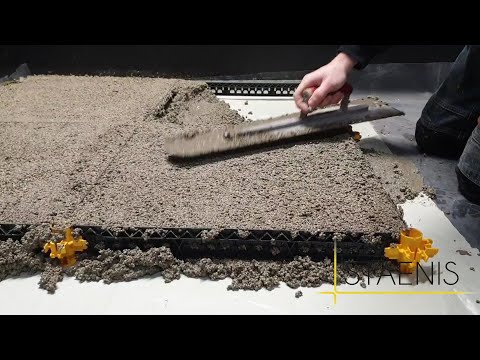
Installation video

Calculator and prices