How to screed your bathroom with Staenis
By Staenis | | Manual
How to screed your own bathroom?
Is a new floor being installed in your bathroom? Keep in mind that for a durable and level bathroom floor, you need a strong screed or subfloor. This forms the ideal base for your chosen floor finish. Discover how you can lay your own screed in your bathroom, even if you have no experience.
Bathroom screeding? Use a handy DIY system.
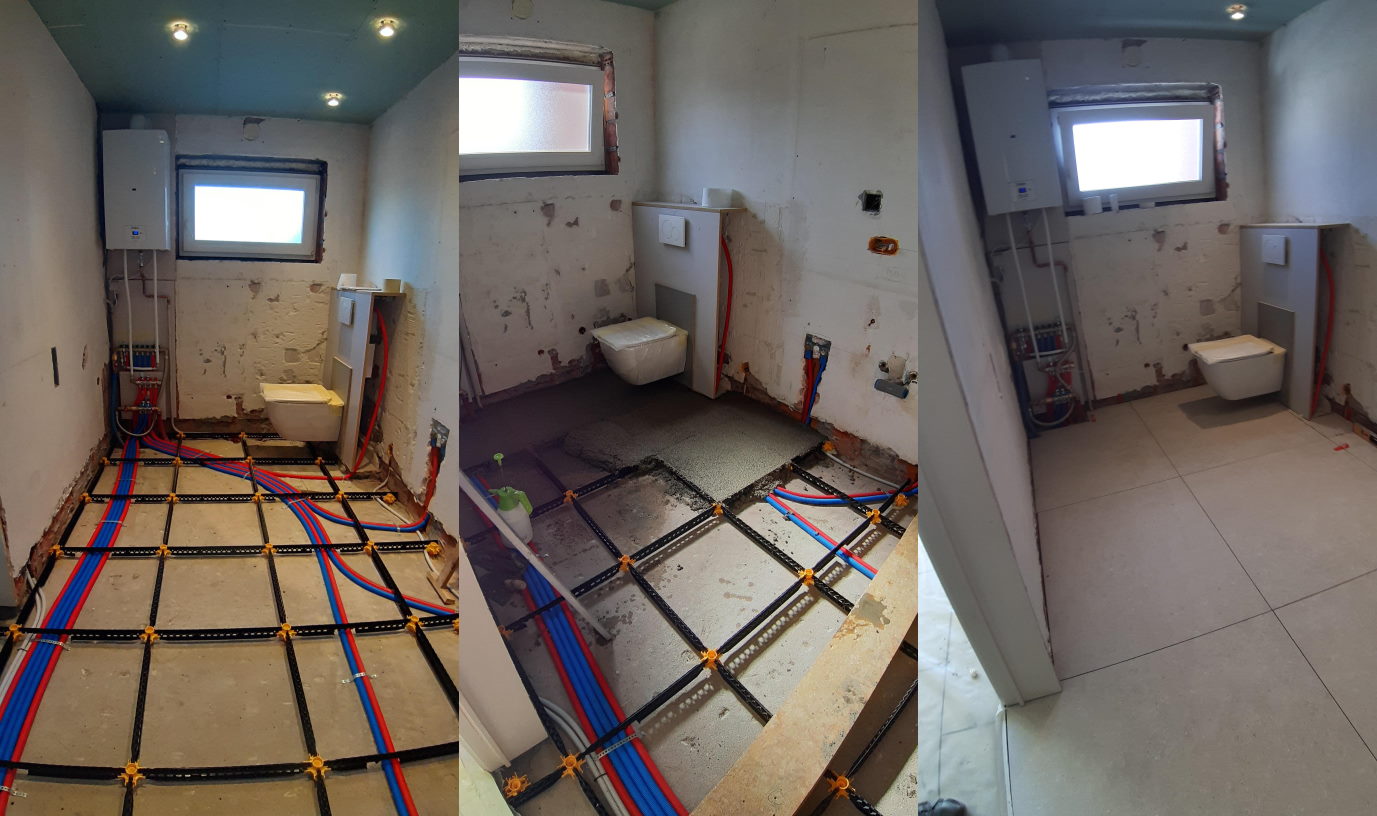
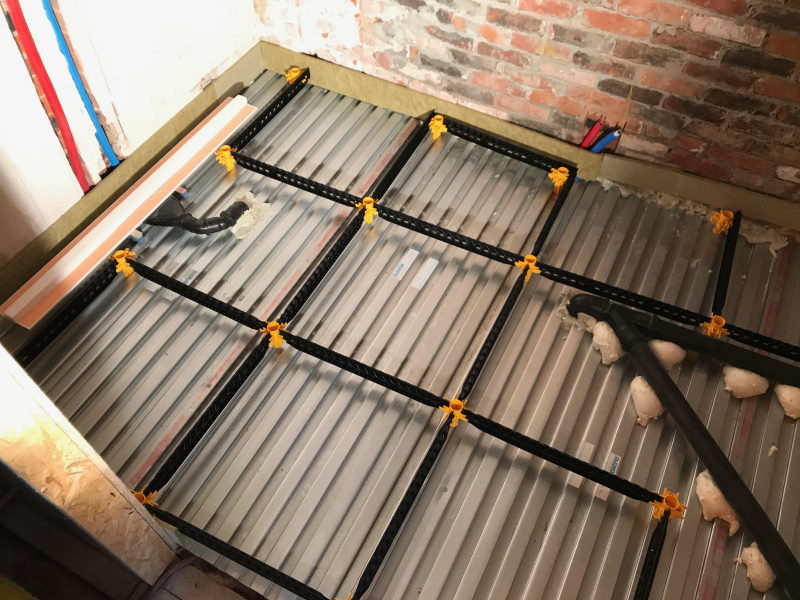
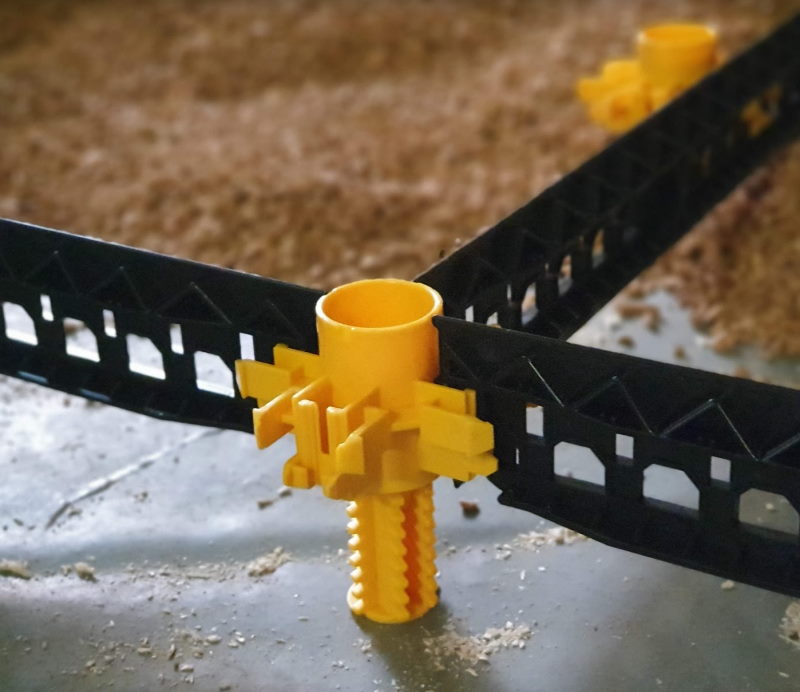
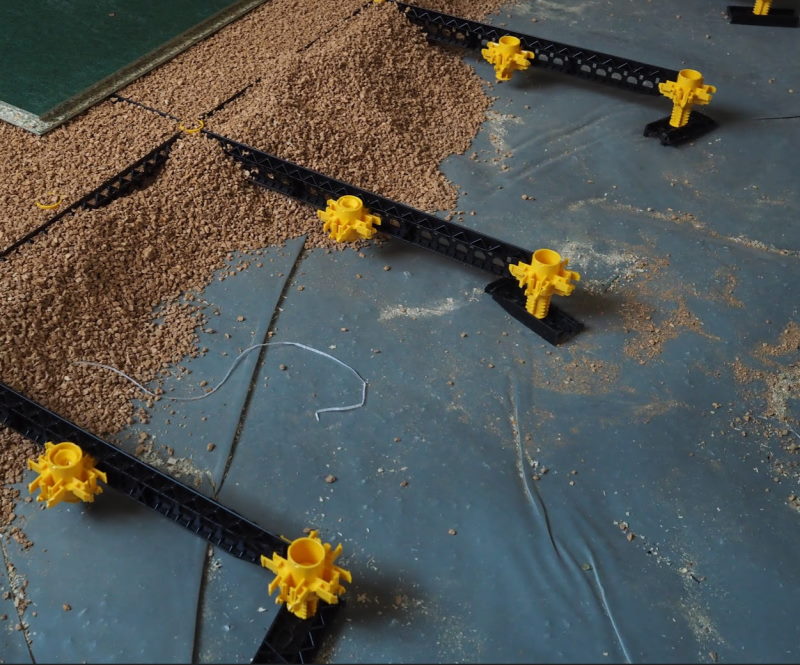
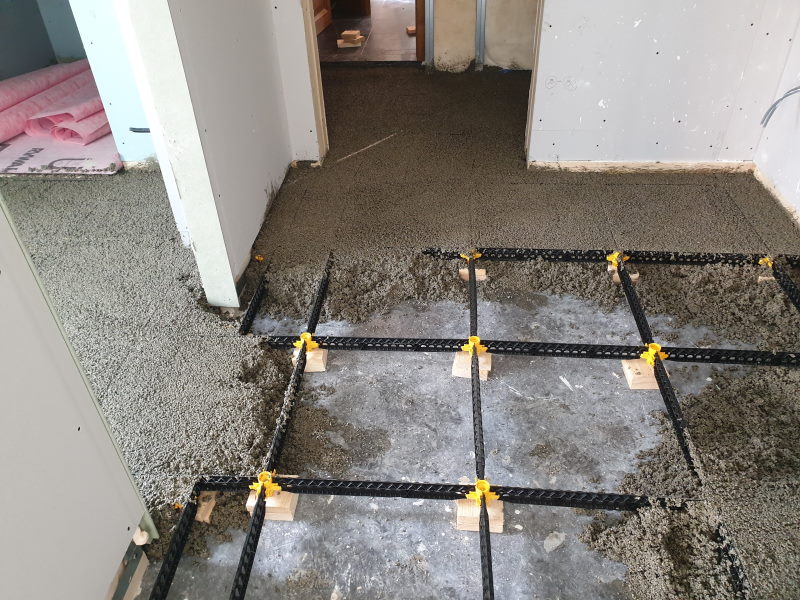
The screed in your bathroom must be installed in such a way that no irregularities, cracks, or fissures can occur. If you want to lay your screed or screed yourself as a DIYer, it’s best to use a reliable tool: the Staenis grid. This handy self-build system is specially developed for do-it-yourselfers. It consists of slats and height-adjustable legs, which can be easily leveled. A suitable filling material, such as screed, insulating screed, or levelling granules, is placed in the grid. Your tiles or OSB boards are then laid on top. Why use the Staenis grid? If you work with this screed grid, you can be sure of a durable, even, and crack-free result. Curious about this surprisingly simple way to lay your own screed? View the screed grid from Staenis here and learn more about the benefits.
Laying a screed in the bathroom: what do I need?
What do you need to screed your bathroom yourself with the Staenis grid? To find out, you need to know how you are going to finish your bathroom floor. Depending on the floor finish you want, choose the suitable filler for the screed grid. Rest assured, you can combine the Staenis grid with various floor finishes: tiles, natural stone, laminate, parquet, cork, vinyl, etc. Curious about which filler you should buy? Check it quickly with our floor build-up overview. Discover the ideal construction for your bathroom floor in one go. Then calculate how many fillers and grid parts you need for your project with the quantity calculator. With the help of this shopping list, you can order your supplies in the Staenis webshop.
Which screed should I choose for my bathroom floor?
There are various floor structures possible in a bathroom. Check below for the floor finish of your choice and learn which fillers you can use to fill the Staenis grid:)
-
Bathroom floor with tiles or natural stone
If you want to finish your bathroom floor with tiles or natural stone, you can fill the Staenis grid with sand cement screed. The drying time is then about 28 days. Would you prefer a shorter drying time, even if your screed costs a bit more? In that case, you would be better off choosing fast-drying screed Fast. If your screed needs to dry quickly but also insulate well, then you would be best off choosing tilable insulation screed. Discover the ideal floor structure for your project here.
-
Bathroom floor with laminate, parquet, vinyl or cork
Will you be covering your bathroom floor with laminate, multi-layer parquet, vinyl or cork? Then you should opt for an insulating screed or levelling granules with OSB boards to obtain an insulating and perfectly flat screed for your bathroom. Learn more about the ideal structure of your bathroom floor.
How to install your own bathroom floor: step-by-step guide
Another good reason to use the online floor build-up overview: you will immediately discover a custom manual for laying your screed. Handy installation videos will also appear on the screen. In short, you can screed your bathroom yourself as follows:
-
Place the Staenis grid and adjust the height. Tip: if you are going to use OSB boards, you need to take this into account when adjusting the height of the Staenis grid.
-
Fix the grid with polyurethane foam from a can. This way, the height adjustment and the position of the grid remain correct.
-
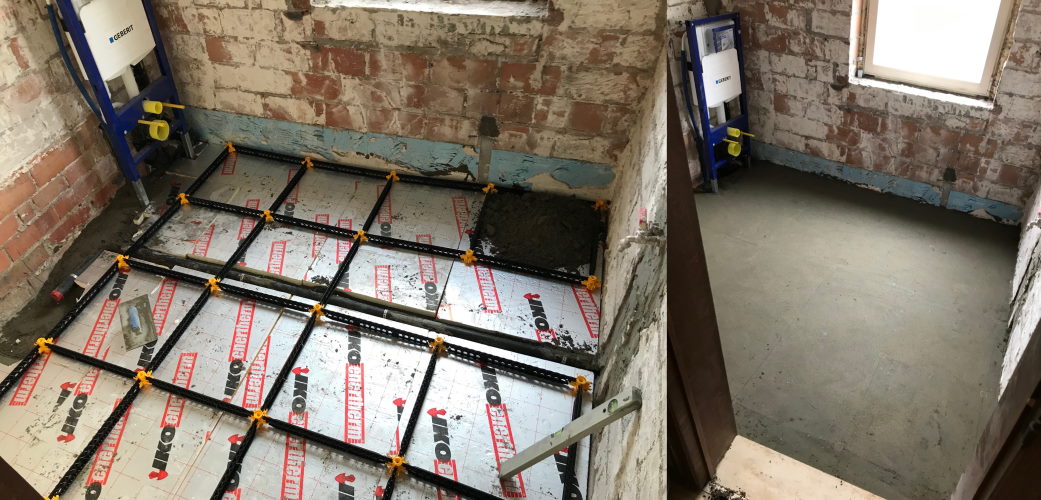
Fill the grid with the recommended filler. Also provide perimeter insulation, unless you are working with standard insulation screed or levelling granules and OSB boards.
-
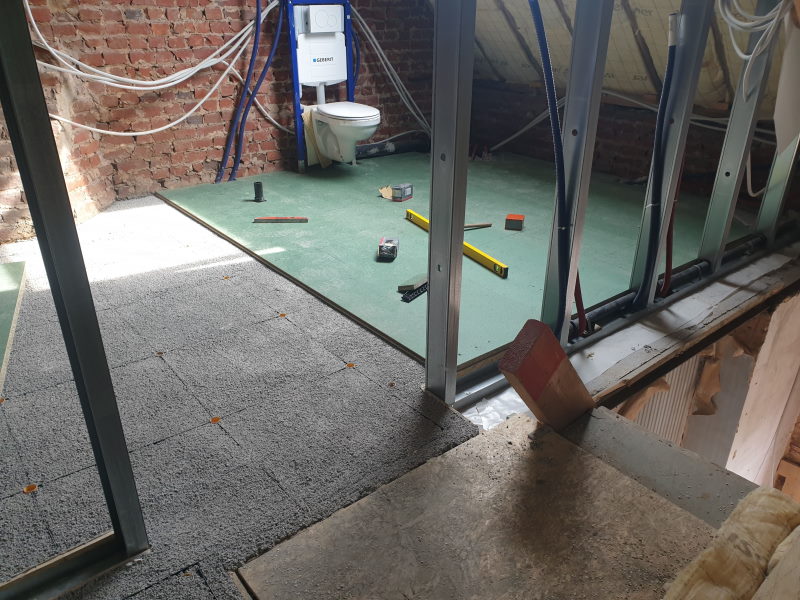
Finish with levelling compound (for tileable insulation screed), or with OSB boards.
-
Finish your screed with a floor covering of your choice, tailored to the infill material used.
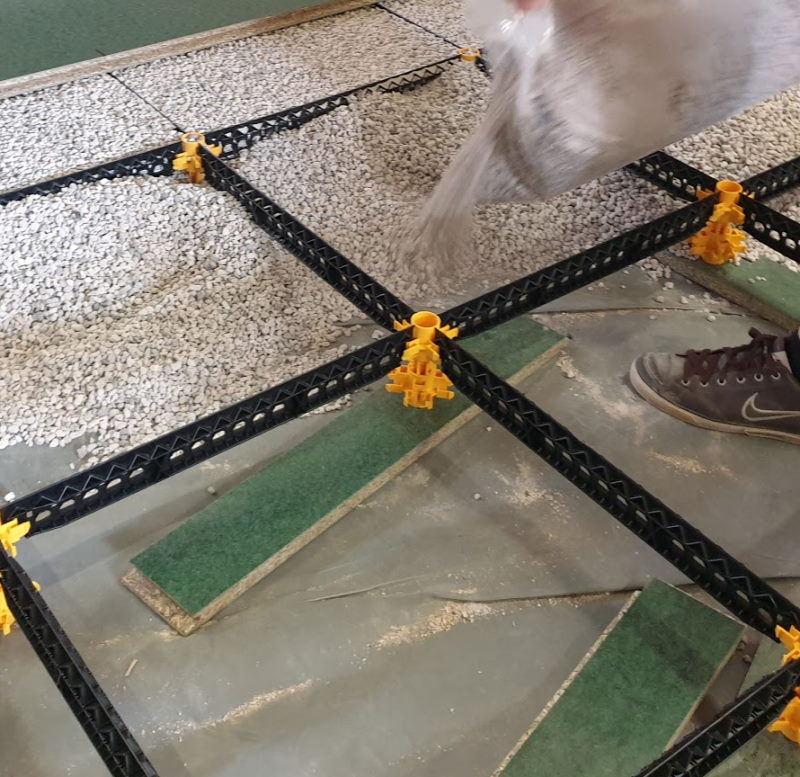
Tip: If you place the Staenis grid flat in advance, you can fill it at your own pace with a filler of your choice and finish it further. This way, you don't have to worry about the height of the grid or the duration of your job. You apply the filler with a bucket, tub, bag, etc., while walking over the grid. You can also bring in the filler with a wheelbarrow, but then you need to click out a few slats from the grid to create a path to a suitable spot to pour out the filler.
At what heights can you set the Staenis grid?
How high can a screed be when using the Staenis grid? With this screed grid, different heights are possible. The slat is 4.5 cm high and can locally be cut down to a height of 1.5 cm. This is, for example, useful for allowing utilities to pass through. The leg of the grid is also 4.5 cm high, the minimum height needed for easy installation of the Staenis grid. If you use the Staenis grid to screed your bathroom, the following grid heights are possible:
-
4.5-9 cm, with a standard Staenis foot.
-
6.5-10.3 cm, with a standard Staenis leg and a Staenis slat placed on its side.
-
9-13 cm, with a standard leg and extension leg.
-
From 4.5 cm + thickness of the plate under the Staenis grid, with a standard Staenis foot and thickness plate of your choice.
-
From 9 cm + thickness of the plate under the Staenis grid, with a standard Staenis leg, extension leg, and thickness plate of your choice.

If there is not enough height available, you can create two fields of Staenis grid next to the drain pipe, and connect them with each other using a standard reinforcement mesh. You can also bring the two halves together again at the top by sticking a decoupling cloth on it with tile adhesive on the screed floor.
Are you considering screeding your bathroom yourself using the Staenis grid? A great plan, because this way you don't need to rely on a professional screeder. By choosing the Staenis grid, you also avoid many common types of damage. Watch a demo of the Staenis DIY system here and learn here how to get started. Off you go!