Insulation screed
Insulation screed floor build-up 1, 2 & 3 - Choose a different floor structure
+5.7 cm - upper floor, ground floor, basement, ... - with concrete slab as substrate - multilayer parquet, laminate, cork, carpet, and vinyl
Floor insulation with high-quality EPS beads ensures a pleasant floor temperature and thermal comfort in the home. Suitable for both new-build floors and renovations.
Information
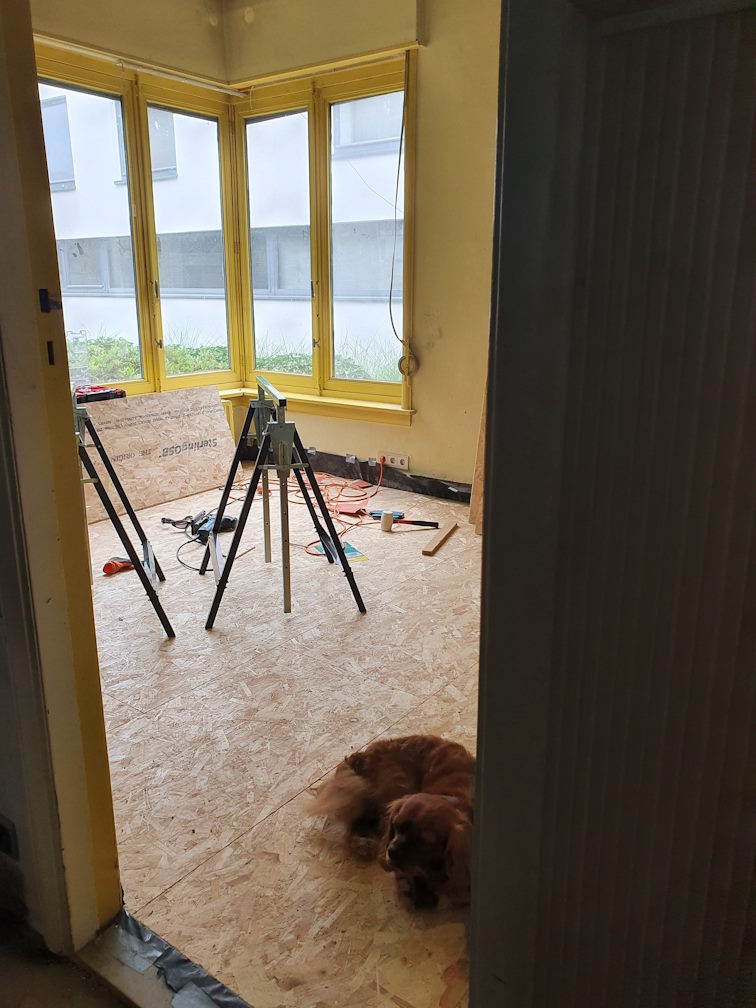
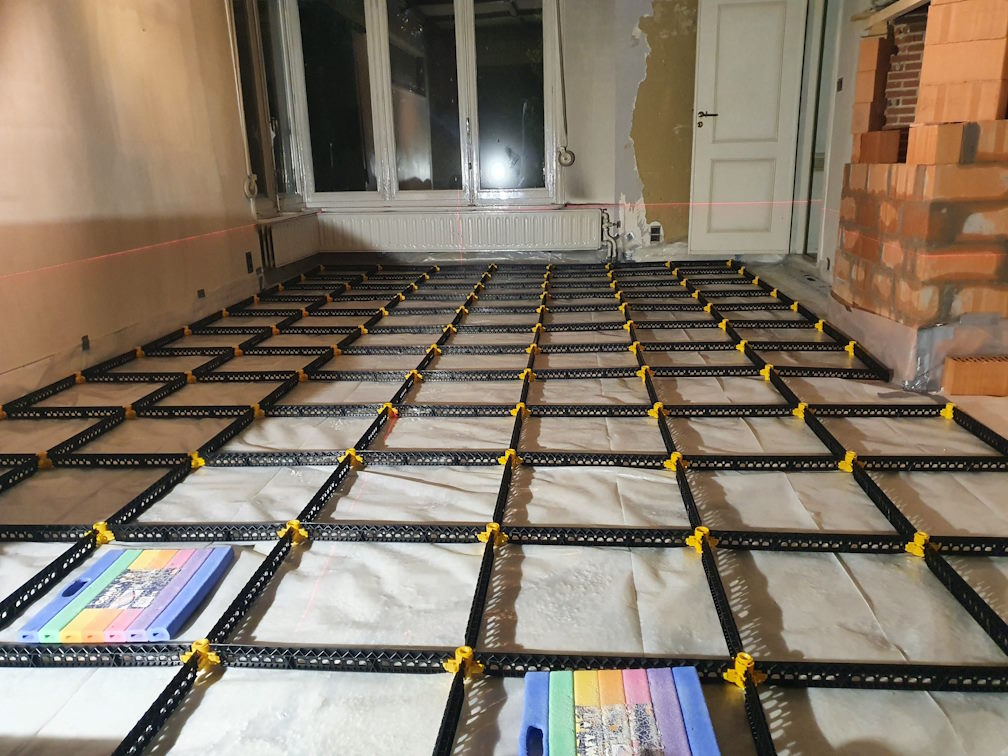
This lightweight floor structure forms an ideal insulated base for your parquet, laminate, cork, carpet, etc. The insulation screed can be covered after a few days of curing with a wooden OSB or Durelis board and screwed onto the Staenis grid, which in this situation serves as a wooden joist structure.
Advantages
- Achieve a perfect end result without experience
- Can be covered with wooden Durelis or OSB boards after 3 days
- Directly suitable for many types of floor finishes
- Lightweight (10 times lighter than a sand-cement screed) and sound-insulating floor
- Possibility to insulate your low floor build-up over the entire thickness.
- Spreading screed work over several days (no stress during placement)
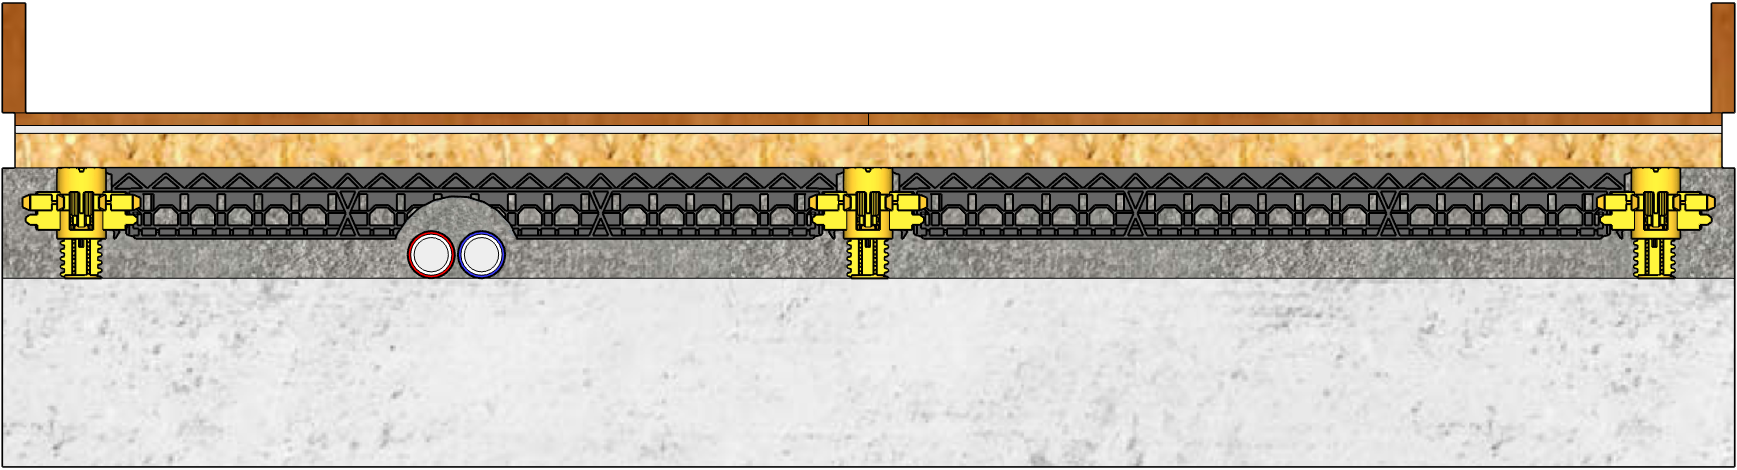
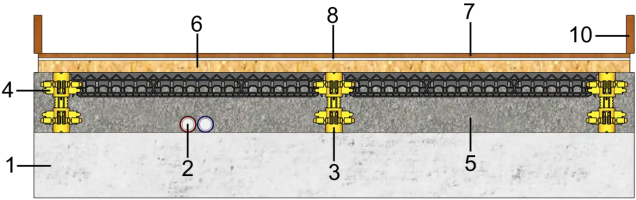
Side view of floor structure
View this floor structure in real life via Sack Zelfbouw
Legend
- Concrete slab
- Pipes (heating, electricity, drainage, etc.)
- Staenis grid (thickness from 4.5 to 9 cm)
- Insulation screed
- OSB board or Durelis tongue and groove board
- Subfloor / felt
- Floating floor covering
- Skirting board

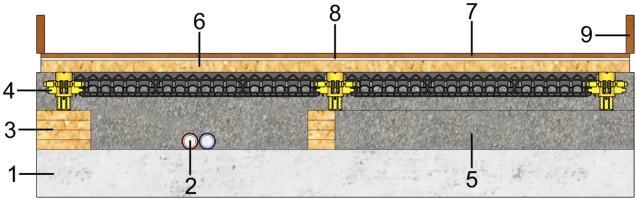
Side view of floor structure with extension legs
Legend
- Concrete slab
- Pipes (heating, electricity, drainage, etc.)
- Staenis extension leg (+ 4 cm extra height)
- Staenis grid (thickness from 4.5 to 9 cm)
- Insulation screed
- OSB board or Durelis tongue and groove board
- Subfloor / felt
- Floating floor covering
- Skirting board
Side view of floor build-up with wooden blocks
Legend
- Concrete slab
- Pipes (heating, electricity, drainage, etc.)
- Wooden blocks 9 x 9 cm
- Staenis grid (thickness from 4.5 to 9 cm)
- Insulation screed
- OSB board or Durelis tongue and groove board
- Subfloor / felt
- Floating floor covering
- Skirting board
Installation video
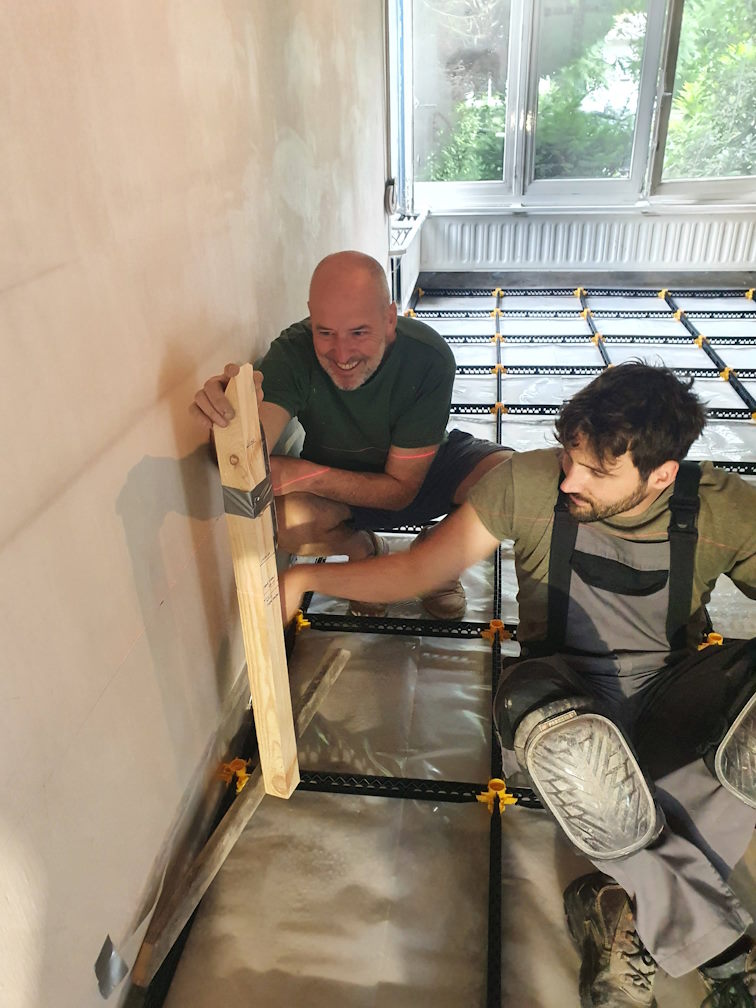
Placement of Staenis grid
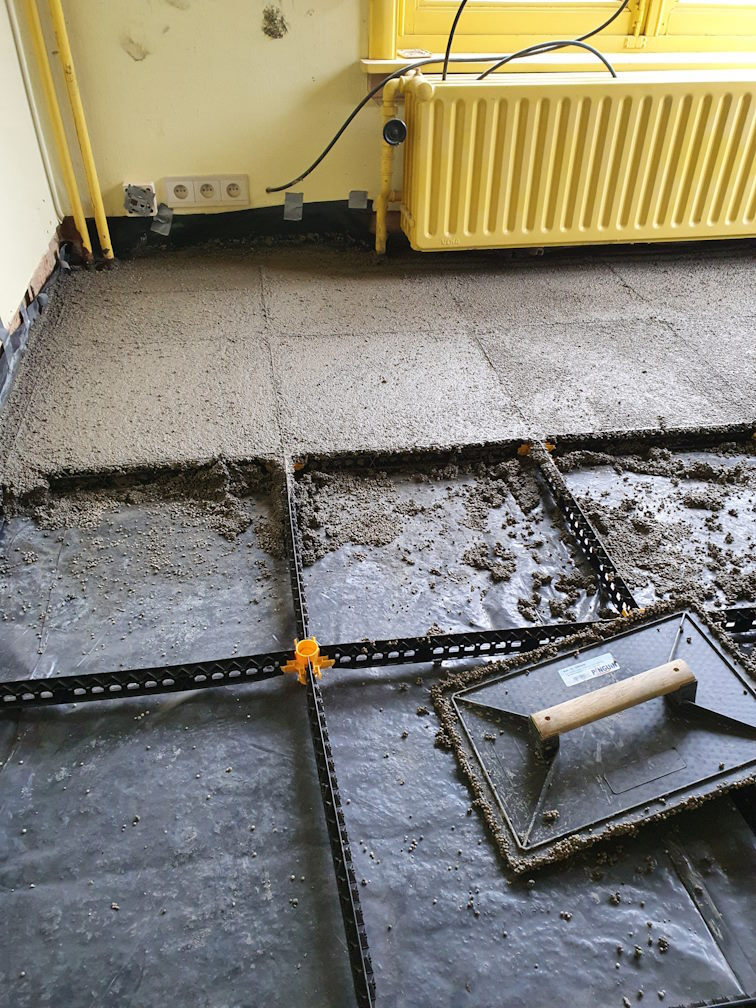
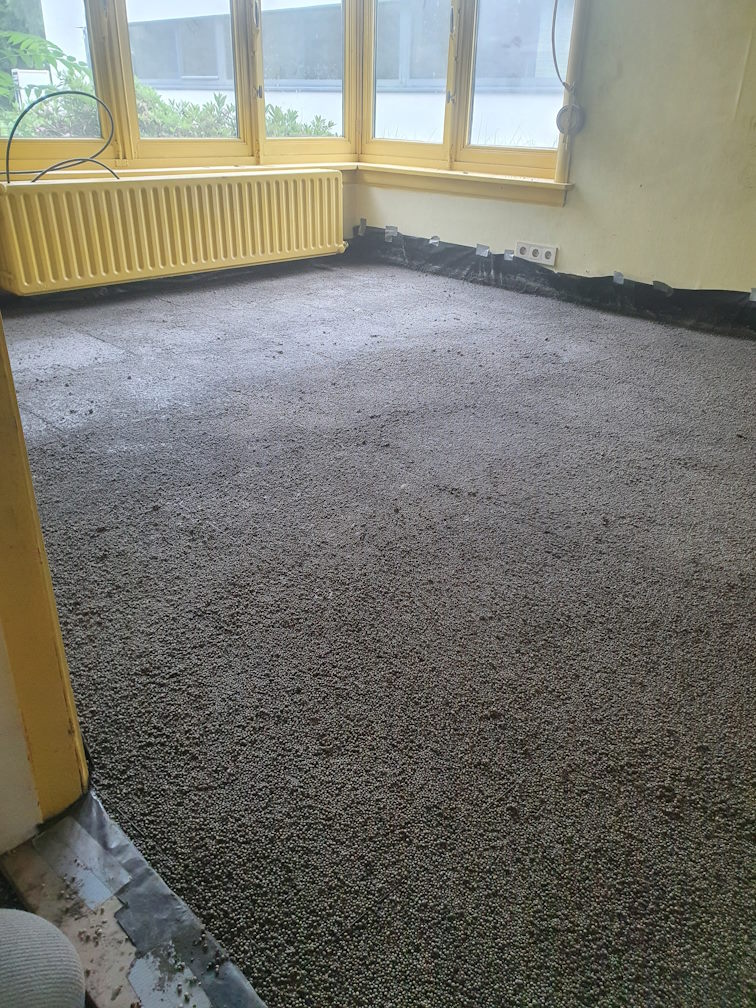
Placement of insulation screed
We deliver insulation screed in bags to your home
The insulation screed is pre-mixed with new EPS beads, combined with cement, water, and specific patented additives.
The EPS beads have a specially small diameter of 2mm-6mm, in order to achieve an even flatter result with the Staenis grid.
The insulation screed in bags is easy to transport and makes it possible for you to insulate your floor yourself.
This non-walkable insulation screed can be used as insulating infill in the Staenis grid, single or double layered with at least 18mm OSB. It can also be used as an insulating levelling layer, with a screed on top.